RAG Experiments and RAG Notebooks
This section describes how to use RAG Experiments and RAG Notebooks in Arthur GenAI Engine.
Overview
Arthur RAG experiments enable testing and comparing the effectiveness of different RAG setting configurations. Using Arthur datasets and evals, you can execute known queries against your RAG store and evaluate the database’s response against your ideal response.
💡 Today, Arthur supports RAG experiments against Weaviate, a common vector store. If you’re interested in running RAG experiments against another database, please reach out to the Arthur product team with your request!
RAG notebooks are ways to store the state of a RAG experiment for re-runs. You can create a RAG notebook with the configuration you would use to run an experiment, so that you can come back to the same experiment state and re-run it as needed.
💡 This guide assumes you’ve already created evals and datasets for your experiment. If you haven’t done that yet, please refer to the guides for working with datasets and evals.
FAQ: What Happens when I run a RAG experiment?
RAG experiments are configured to run over specific RAG setting configurations, evals, and dataset versions in Arthur. For each row in your configured dataset, Arthur will make a request to the RAG provider you configure, with the settings you’re testing. Arthur will then pass the response from your RAG store, via some mapping you’ll have already set up, to the evals you’ve configured for the experiment.
At this point, you will be able to see the results of the evals for each row in the dataset (one row = one “Arthur test case”) and compare the results for different settings to figure out which is best for your agent!
Setting up a RAG experiment
Step 1: Create a RAG provider
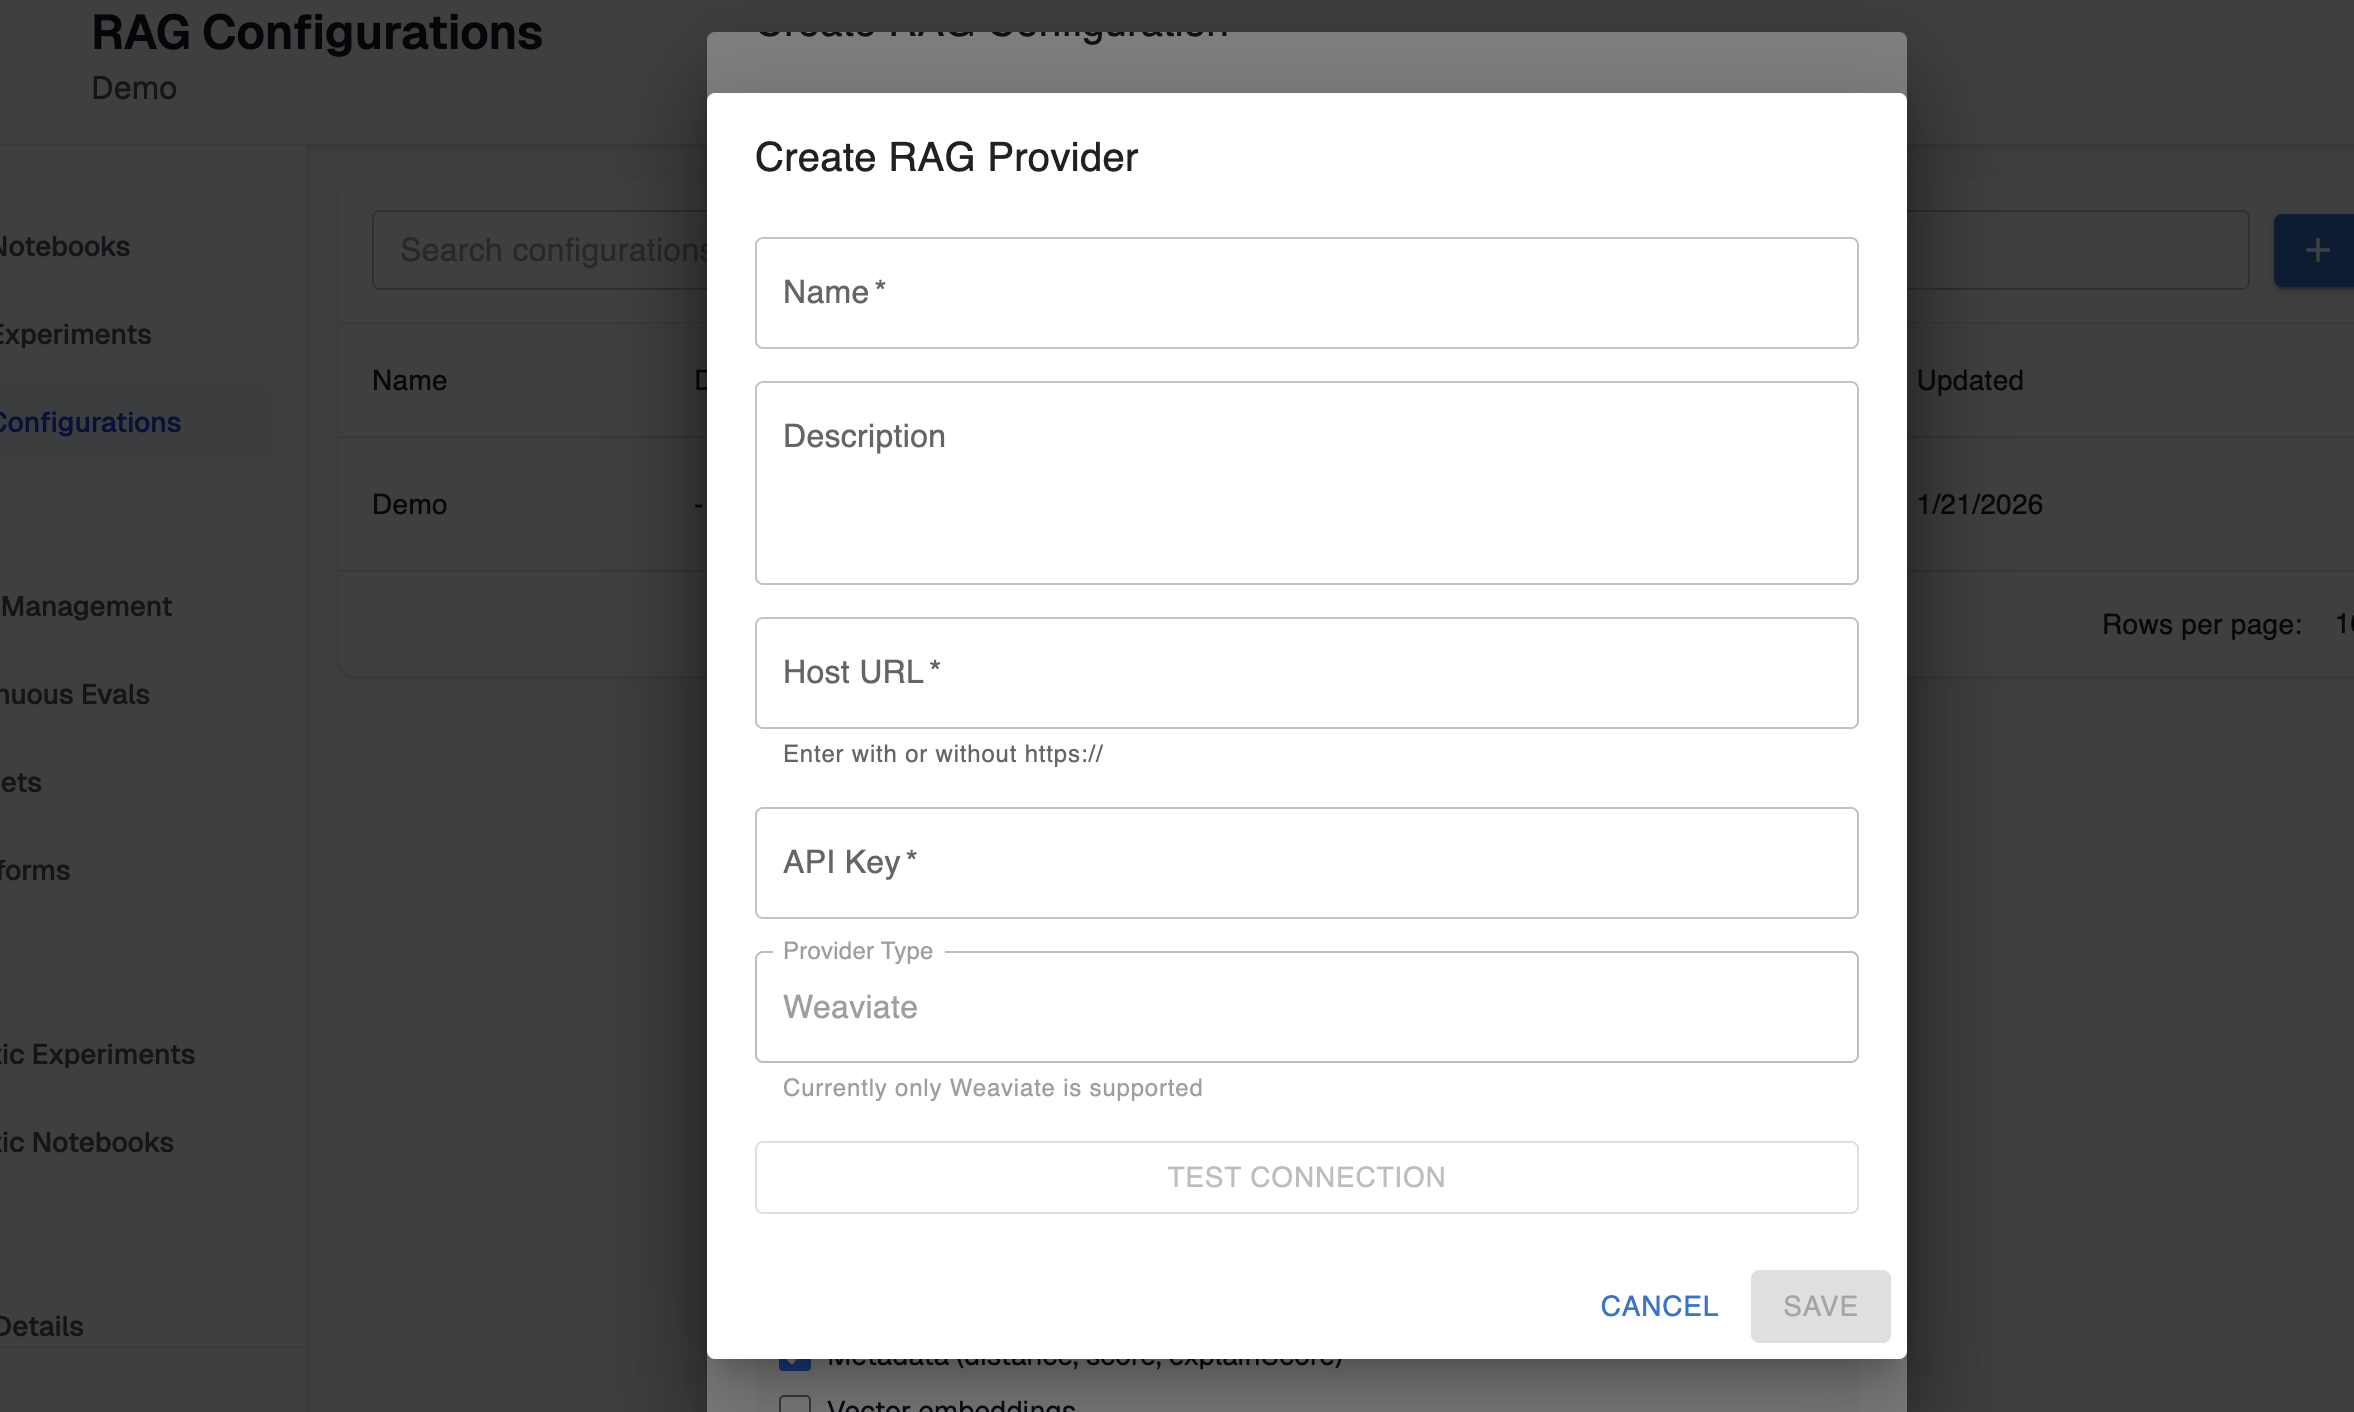
In the RAG configurations page, you can configure your first RAG provider. This is where you will provide Arthur the credentials needed to authenticate with your RAG store.
You should name this provider in a way that will make it easy for you to remember which of your vector stores the provider connects to. As you configure this provider, you can optionally test the connection to make sure the credentials are working and Arthur is able to connect to the vector store.
Step 2: Create a RAG configuration
Once Arthur can authenticate to your RAG store, you’ll want to configure some RAG configurations telling Arthur which settings to include in the request to your store. These configurations are the independent variable in your experiments—you’ll likely be testing multiple to see which ones work better for your use case.
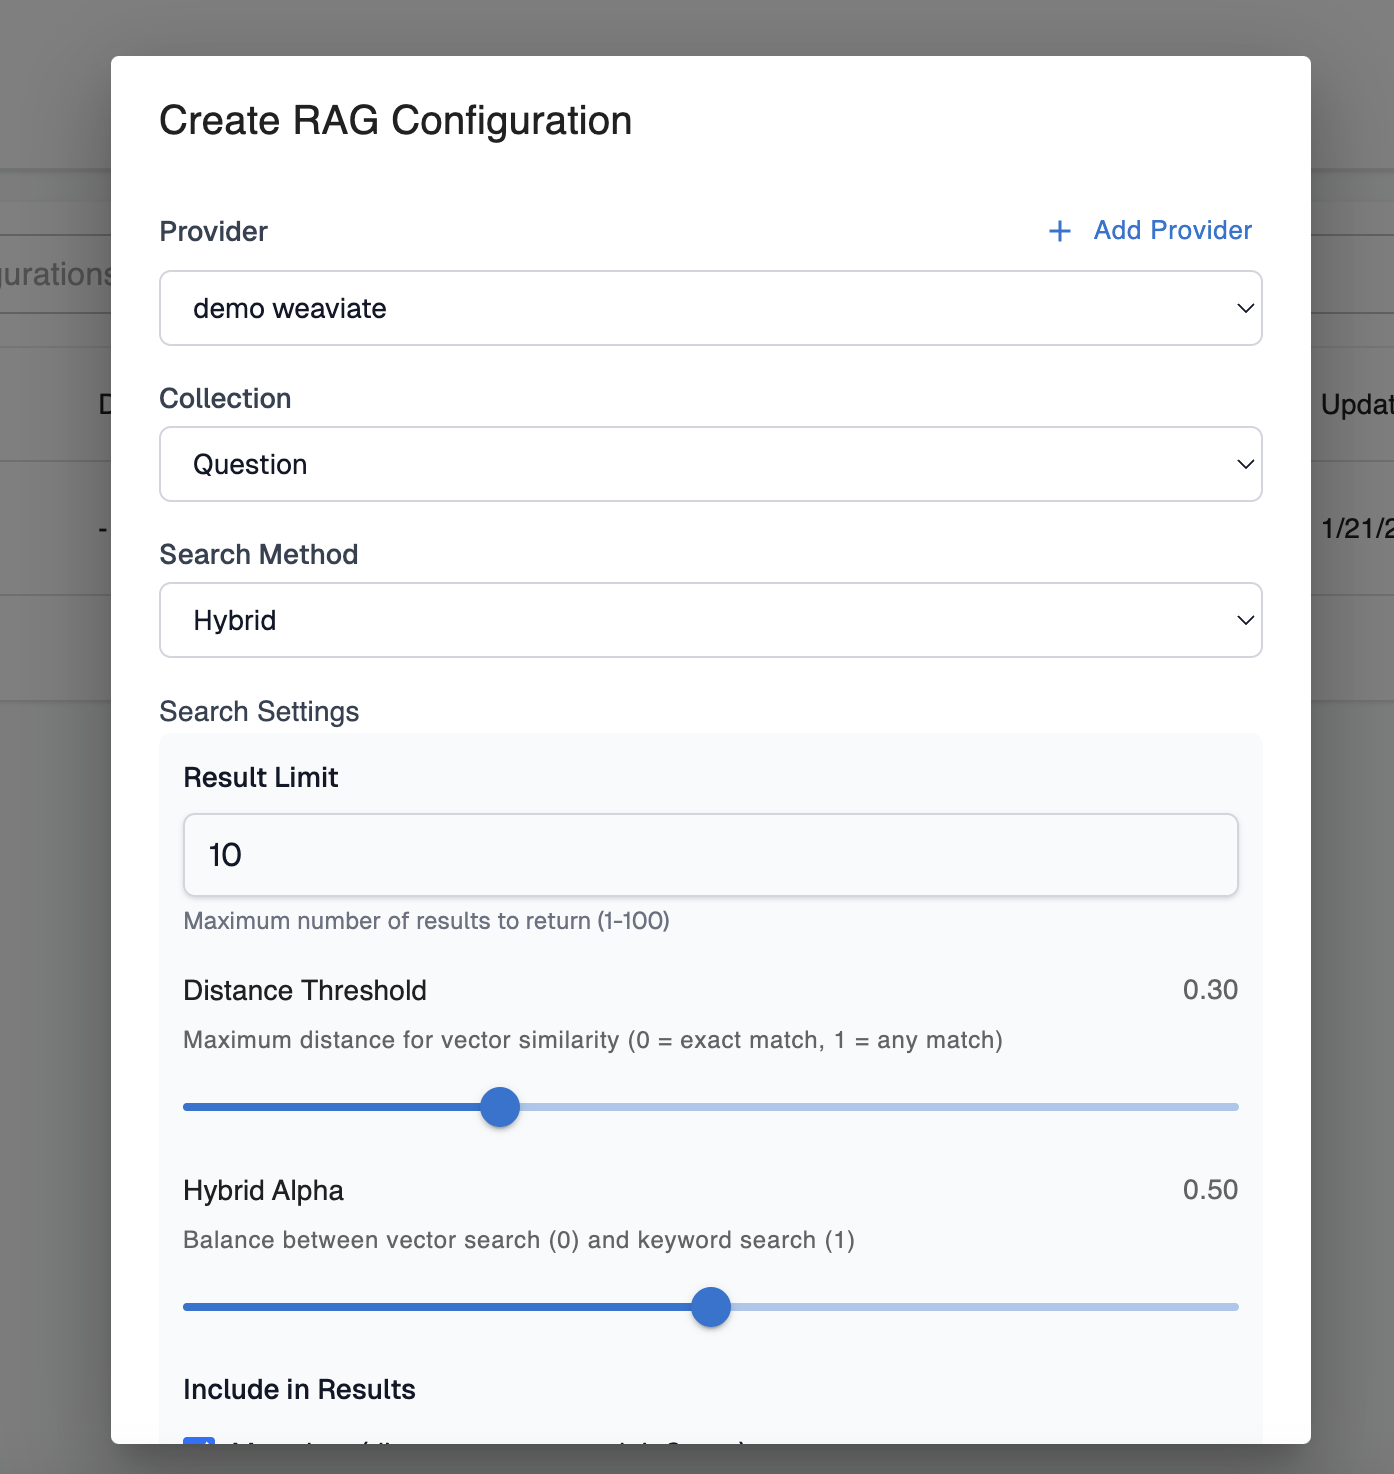
Provider: This is the provider you configured in the previous step to authenticate with your vector store.
Collection: This is the collection you’re testing queries against. Arthur will query available collections from your vector store to show you options for this field.
Search Method: One of hybrid, vector, or keyword search. This is the search method used in the query to the RAG store.
Search Settings: These settings are specific to the search method you chose. They correspond to Weaviate-specific search settings, so we recommend checking out the Weaviate docs for additional information on the significance of each setting if you’re unfamiliar.
Configuration Name and Description: This is metadata that will help you differentiate between your RAG configurations.
💡 Arthur RAG configurations are versioned. If you alter any of the settings for an existing RAG configuration, you will create a new version. Multiple versions of the same configuration can be set up for a single RAG experiment to compare performance across both.
Tags: These tags are version-specific; they correspond to the specific version of the RAG configuration, not the RAG configuration itself. You can set any string here. The only constraint is that they must be unique for a configuration, meaning two versions of the same configuration can’t have the same tag.
💡 Uses of tags: You can use RAG configuration version tags to quickly identify differences between two versions of a RAG configuration. However, you can also set your agent to use a RAG setting configuration by querying your configurations from the Arthur API. That way, if your agent always queries for the version tagged prod, you could experiment with new versions in the Arthur UI and promote versions to automatically get picked up by your agent when you’re ready.
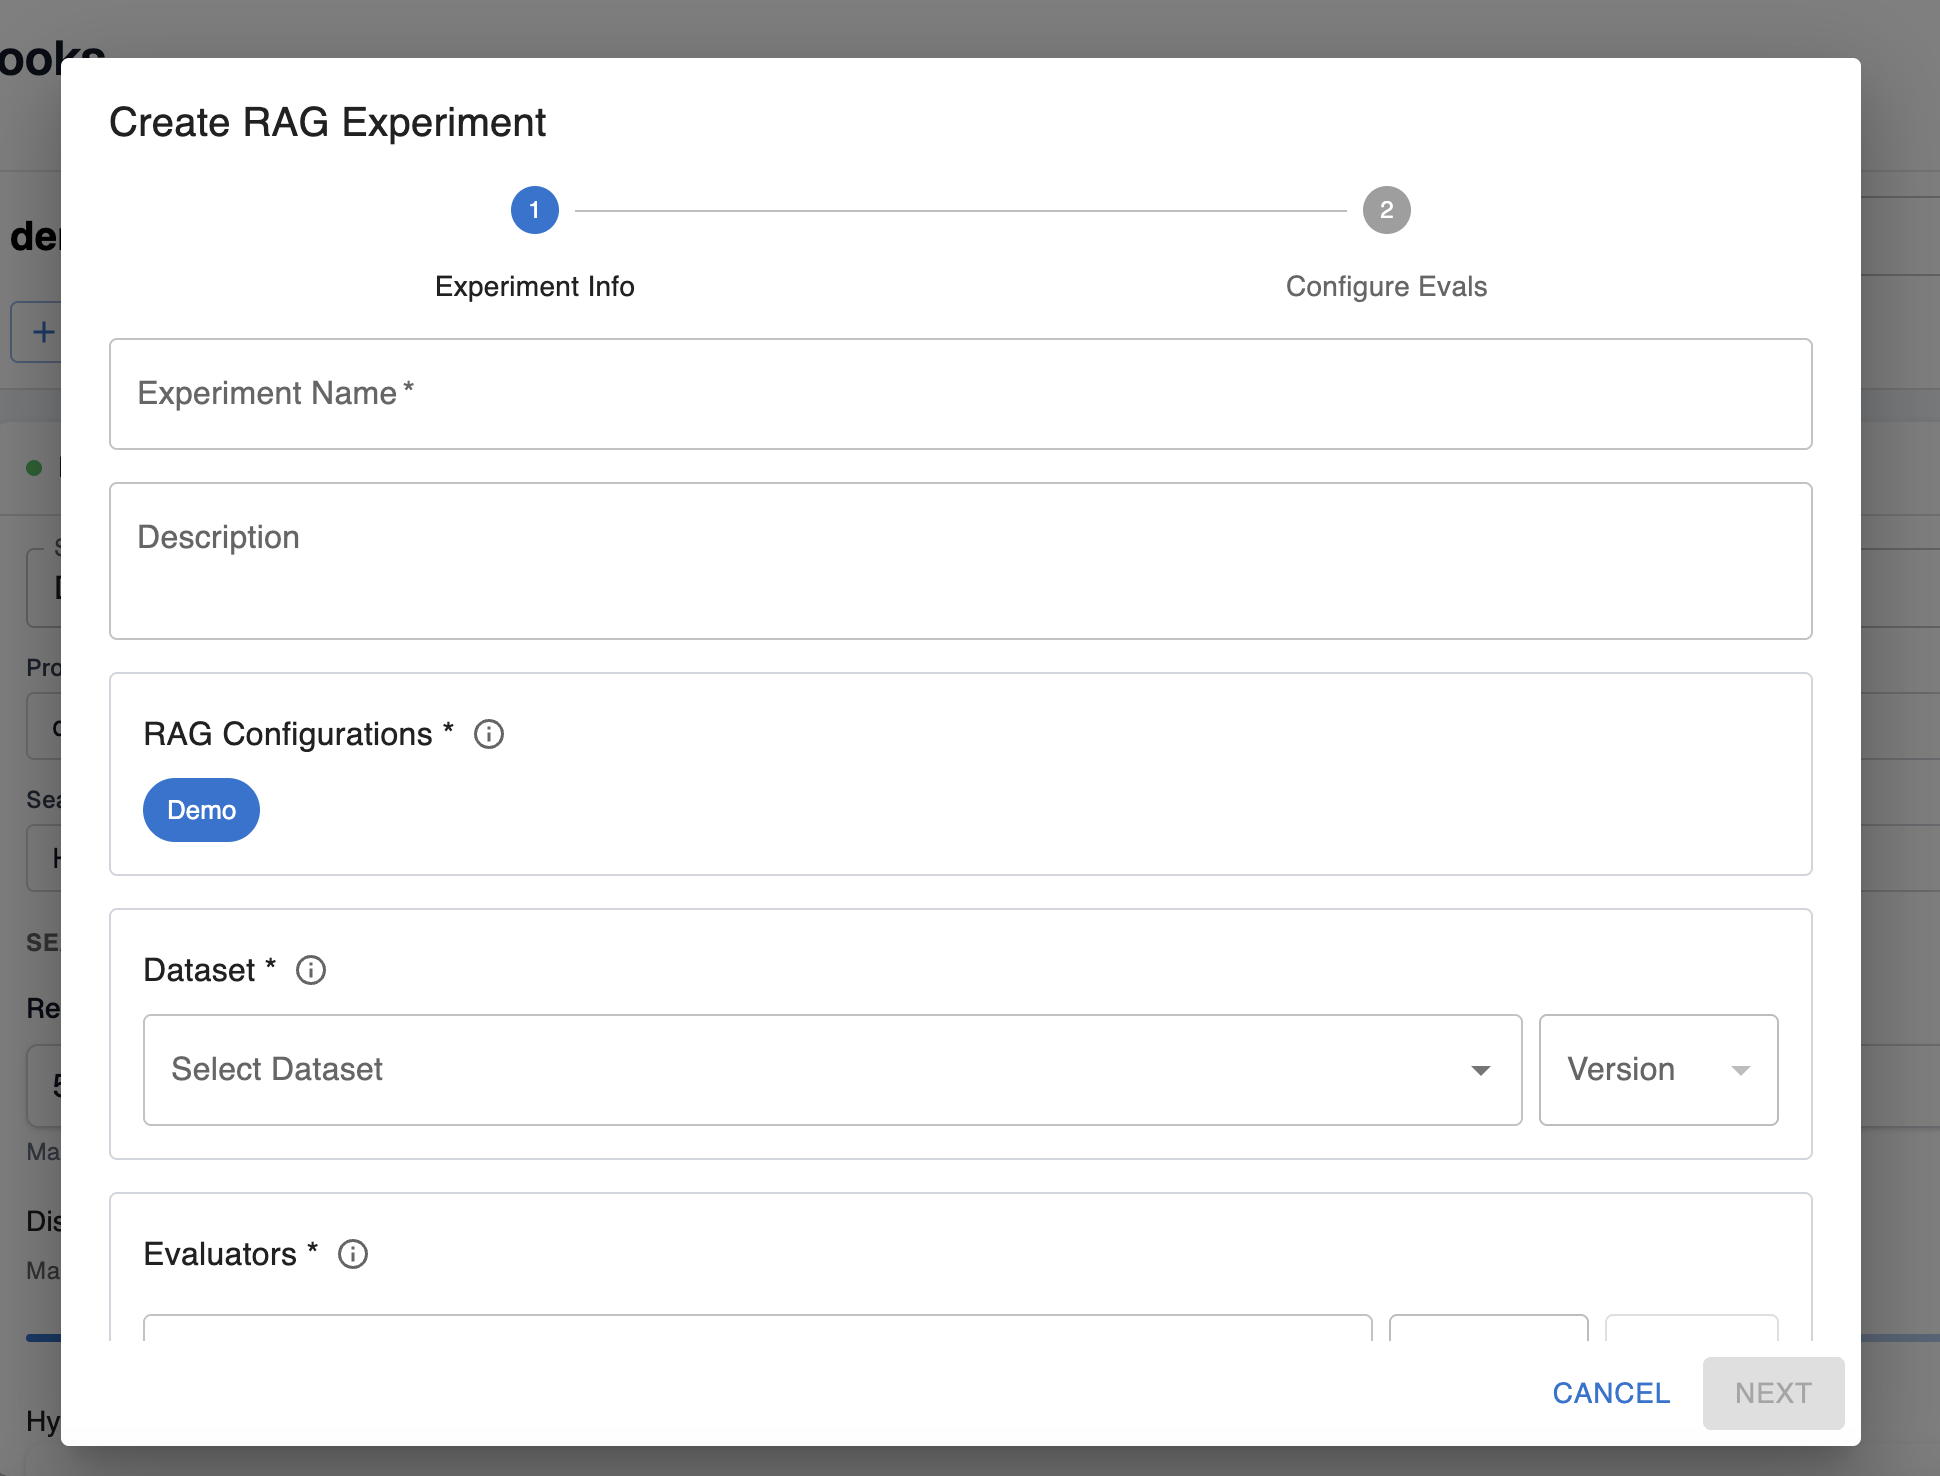
Step 3: Create a RAG experiment
You can do this from the RAG experiments page, or run an experiment from an existing RAG notebook.
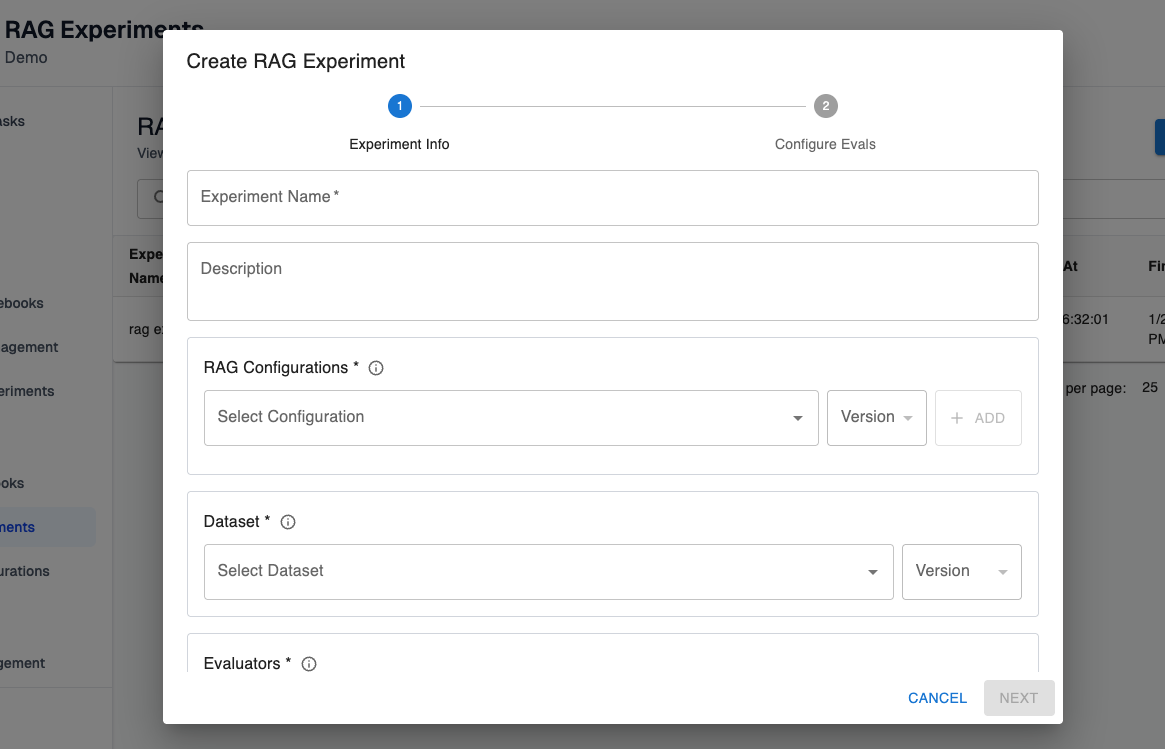
Experiment name and description: This is metadata you can use to easily identify the purpose of a past experiment.
RAG Configurations: These are the RAG configurations you want to compare in the experiment. You can include multiple versions of the same configuration here, or multiple configurations. From the RAG experiments page you can only run experiments over existing configurations, but if you want to run RAG experiments over unsaved configurations you can do so from the RAG notebooks view.
Dataset: This is the version of the dataset that holds the test cases you want to evaluate the RAG store performance against.
Query Column: This is the column in your dataset that holds the search query for the RAG store.
Dataset Row Filter: This is an optional filter you can use to execute the experiment over specific rows in the dataset, rather than over the entire dataset. Only rows that match the filter conditions will be included in the experiment.
Evaluators: These are the evals you want to use to evaluate the performance of your RAG store. Please see the guide for creating evals for more help configuring and understanding evals. You can configure multiple evals and multiple versions of the same eval for a single RAG experiment.
Step 4: Configure Evals for the Experiment
When you click next on the RAG experiment creation screen, you’ll need to configure the eval variable mapping for your experiment:
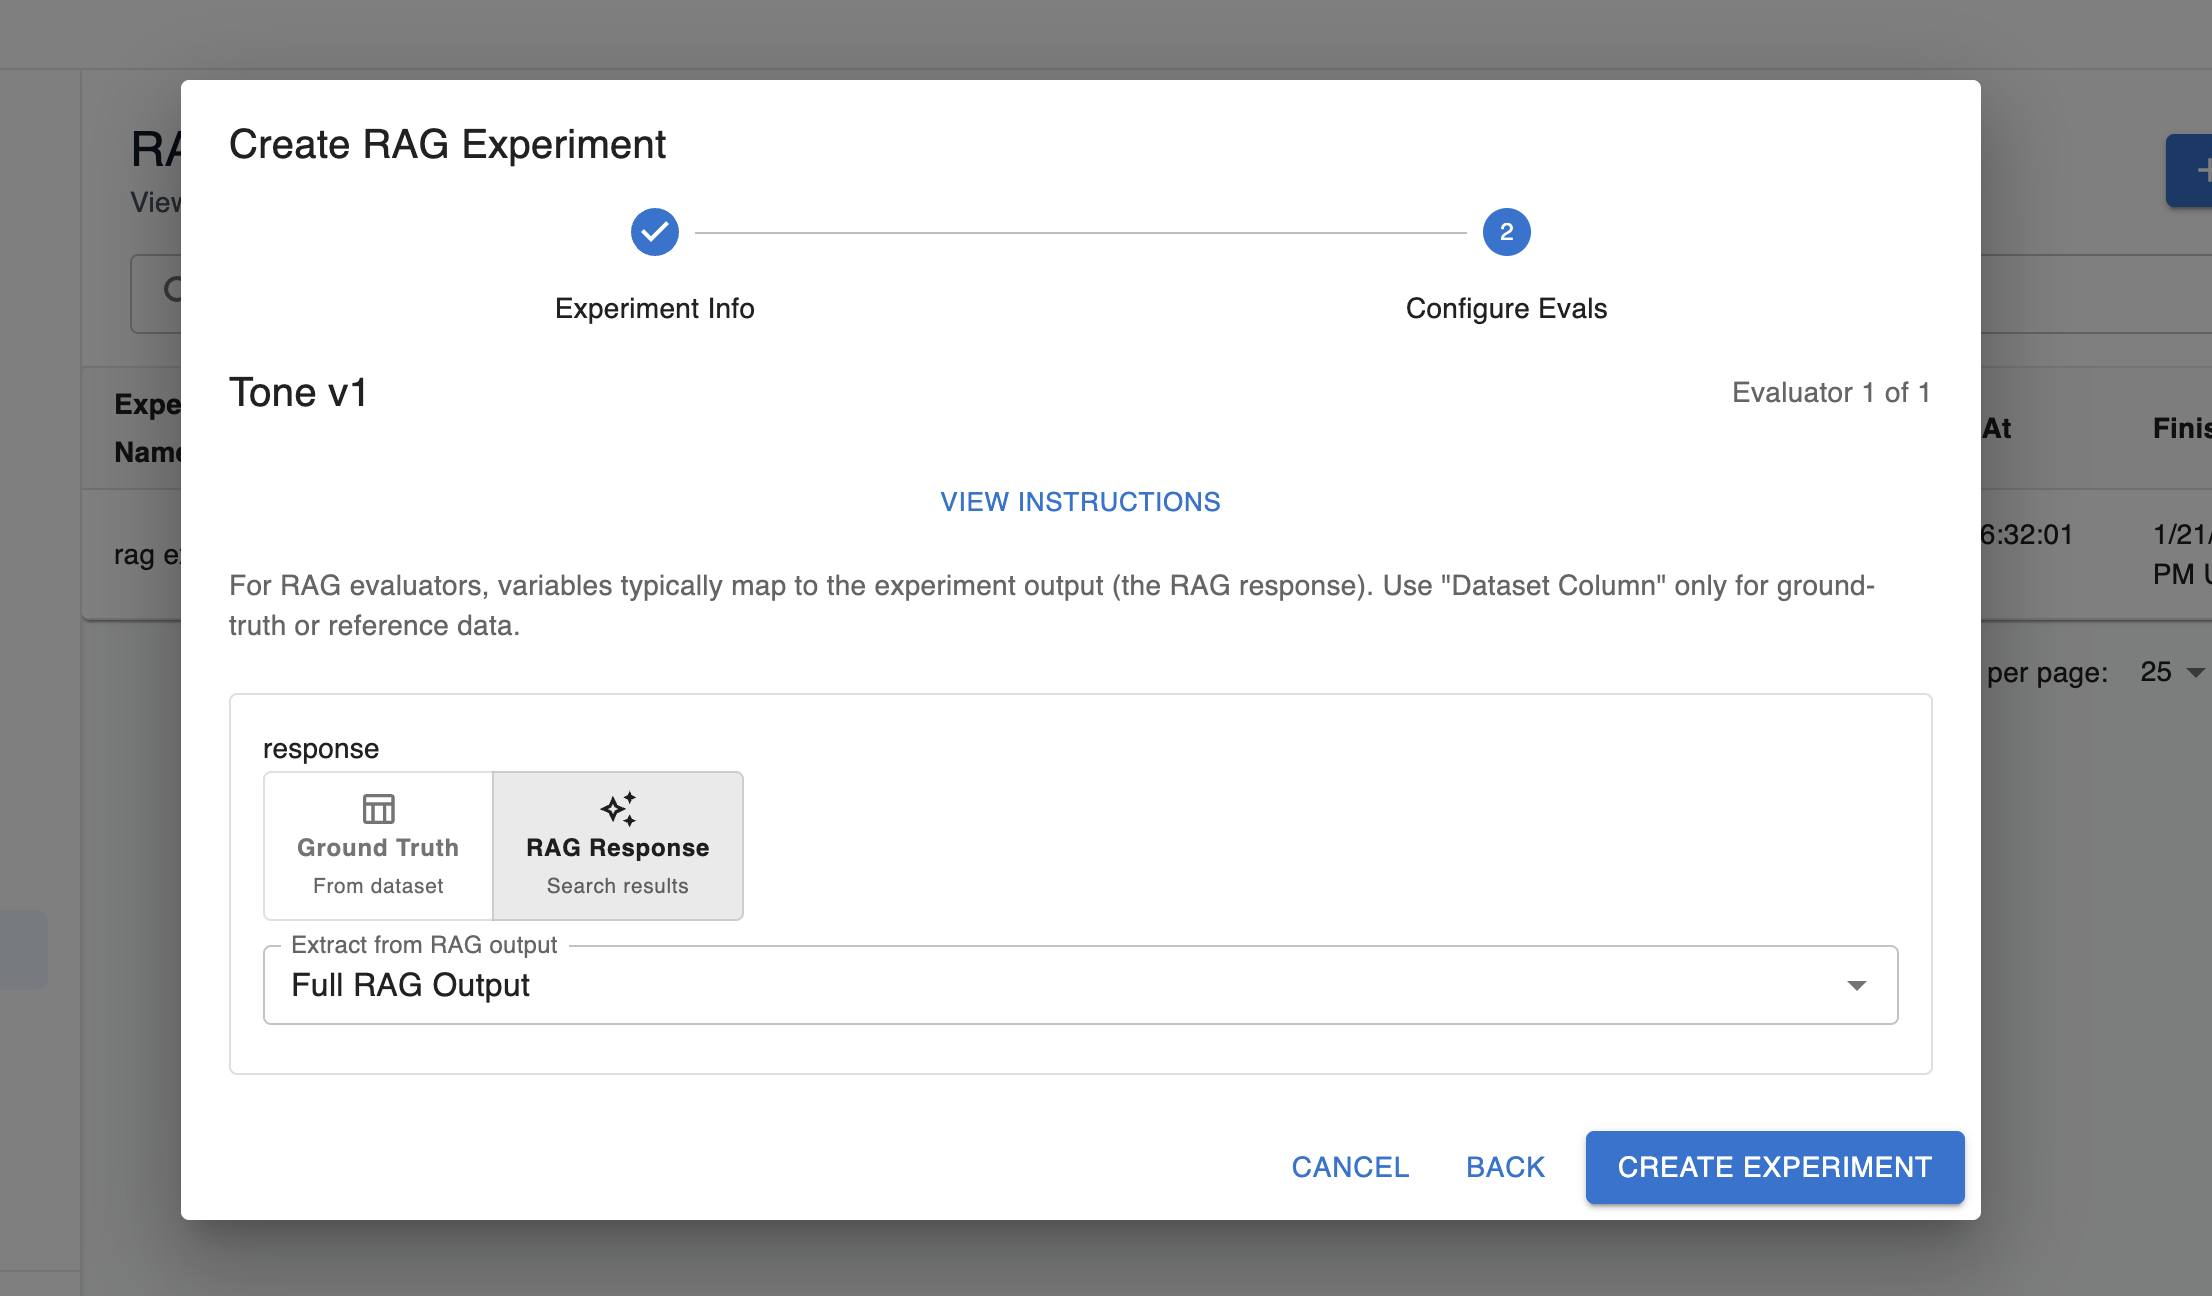
Arthur evals typically have variables that need to be filled in. In the case of RAG experiments, you will typically need at least one variable to be populated with the response from the RAG store. You can either pass the full RAG output through to the eval, or you can extract specific fields from the output. You can do this by specifying a custom JSON path to the information of interest, or our UI will suggest a few options of information you might be interested in passing through.
Additionally, some variables in the eval may be populated by information from your dataset (eg. you may have a ground truth column with the expected response in your dataset that you want to compare to the actual response). The “ground truth (from dataset)” option will allow you configure the column in the dataset that holds this data as needed.
Step 5: Create Experiment and Evaluate Results!
Once you create your experiment, you’ll be able to see the outcomes of each test case and compare the failure and pass rate across the RAG configurations you’ve configured for your experiment. You can look at the overall performance, or click into each test case to see the details of how the eval variables got populated for that test case, what the response from the RAG store was, and more!
Setting up a RAG notebook
💡 This section assumes you read the guide to setting up a RAG experiment and already have a high-level understanding of how RAG experiments work.
RAG notebooks offer a way for you to configure experiments and store them for re-use.
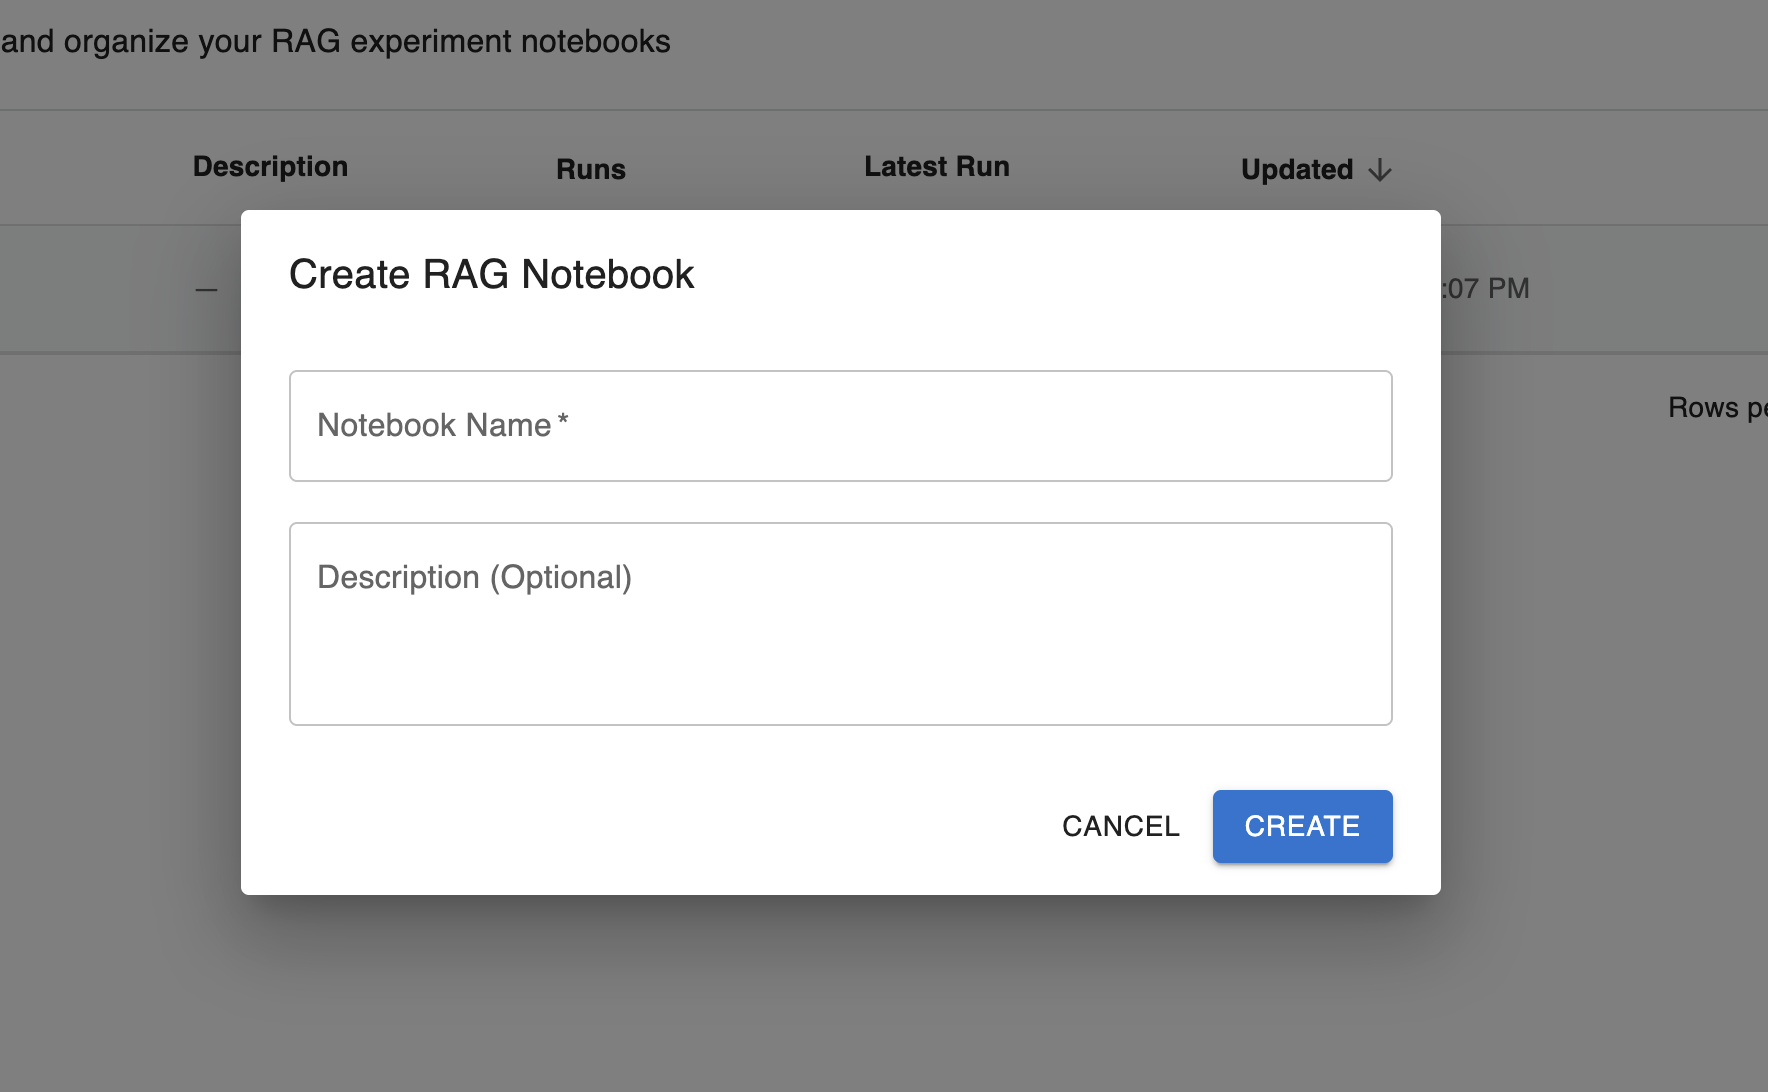
Step 1: Create RAG notebook
In this step, you’ll configure the metadata (name and description) that will help you differentiate between your created notebooks.
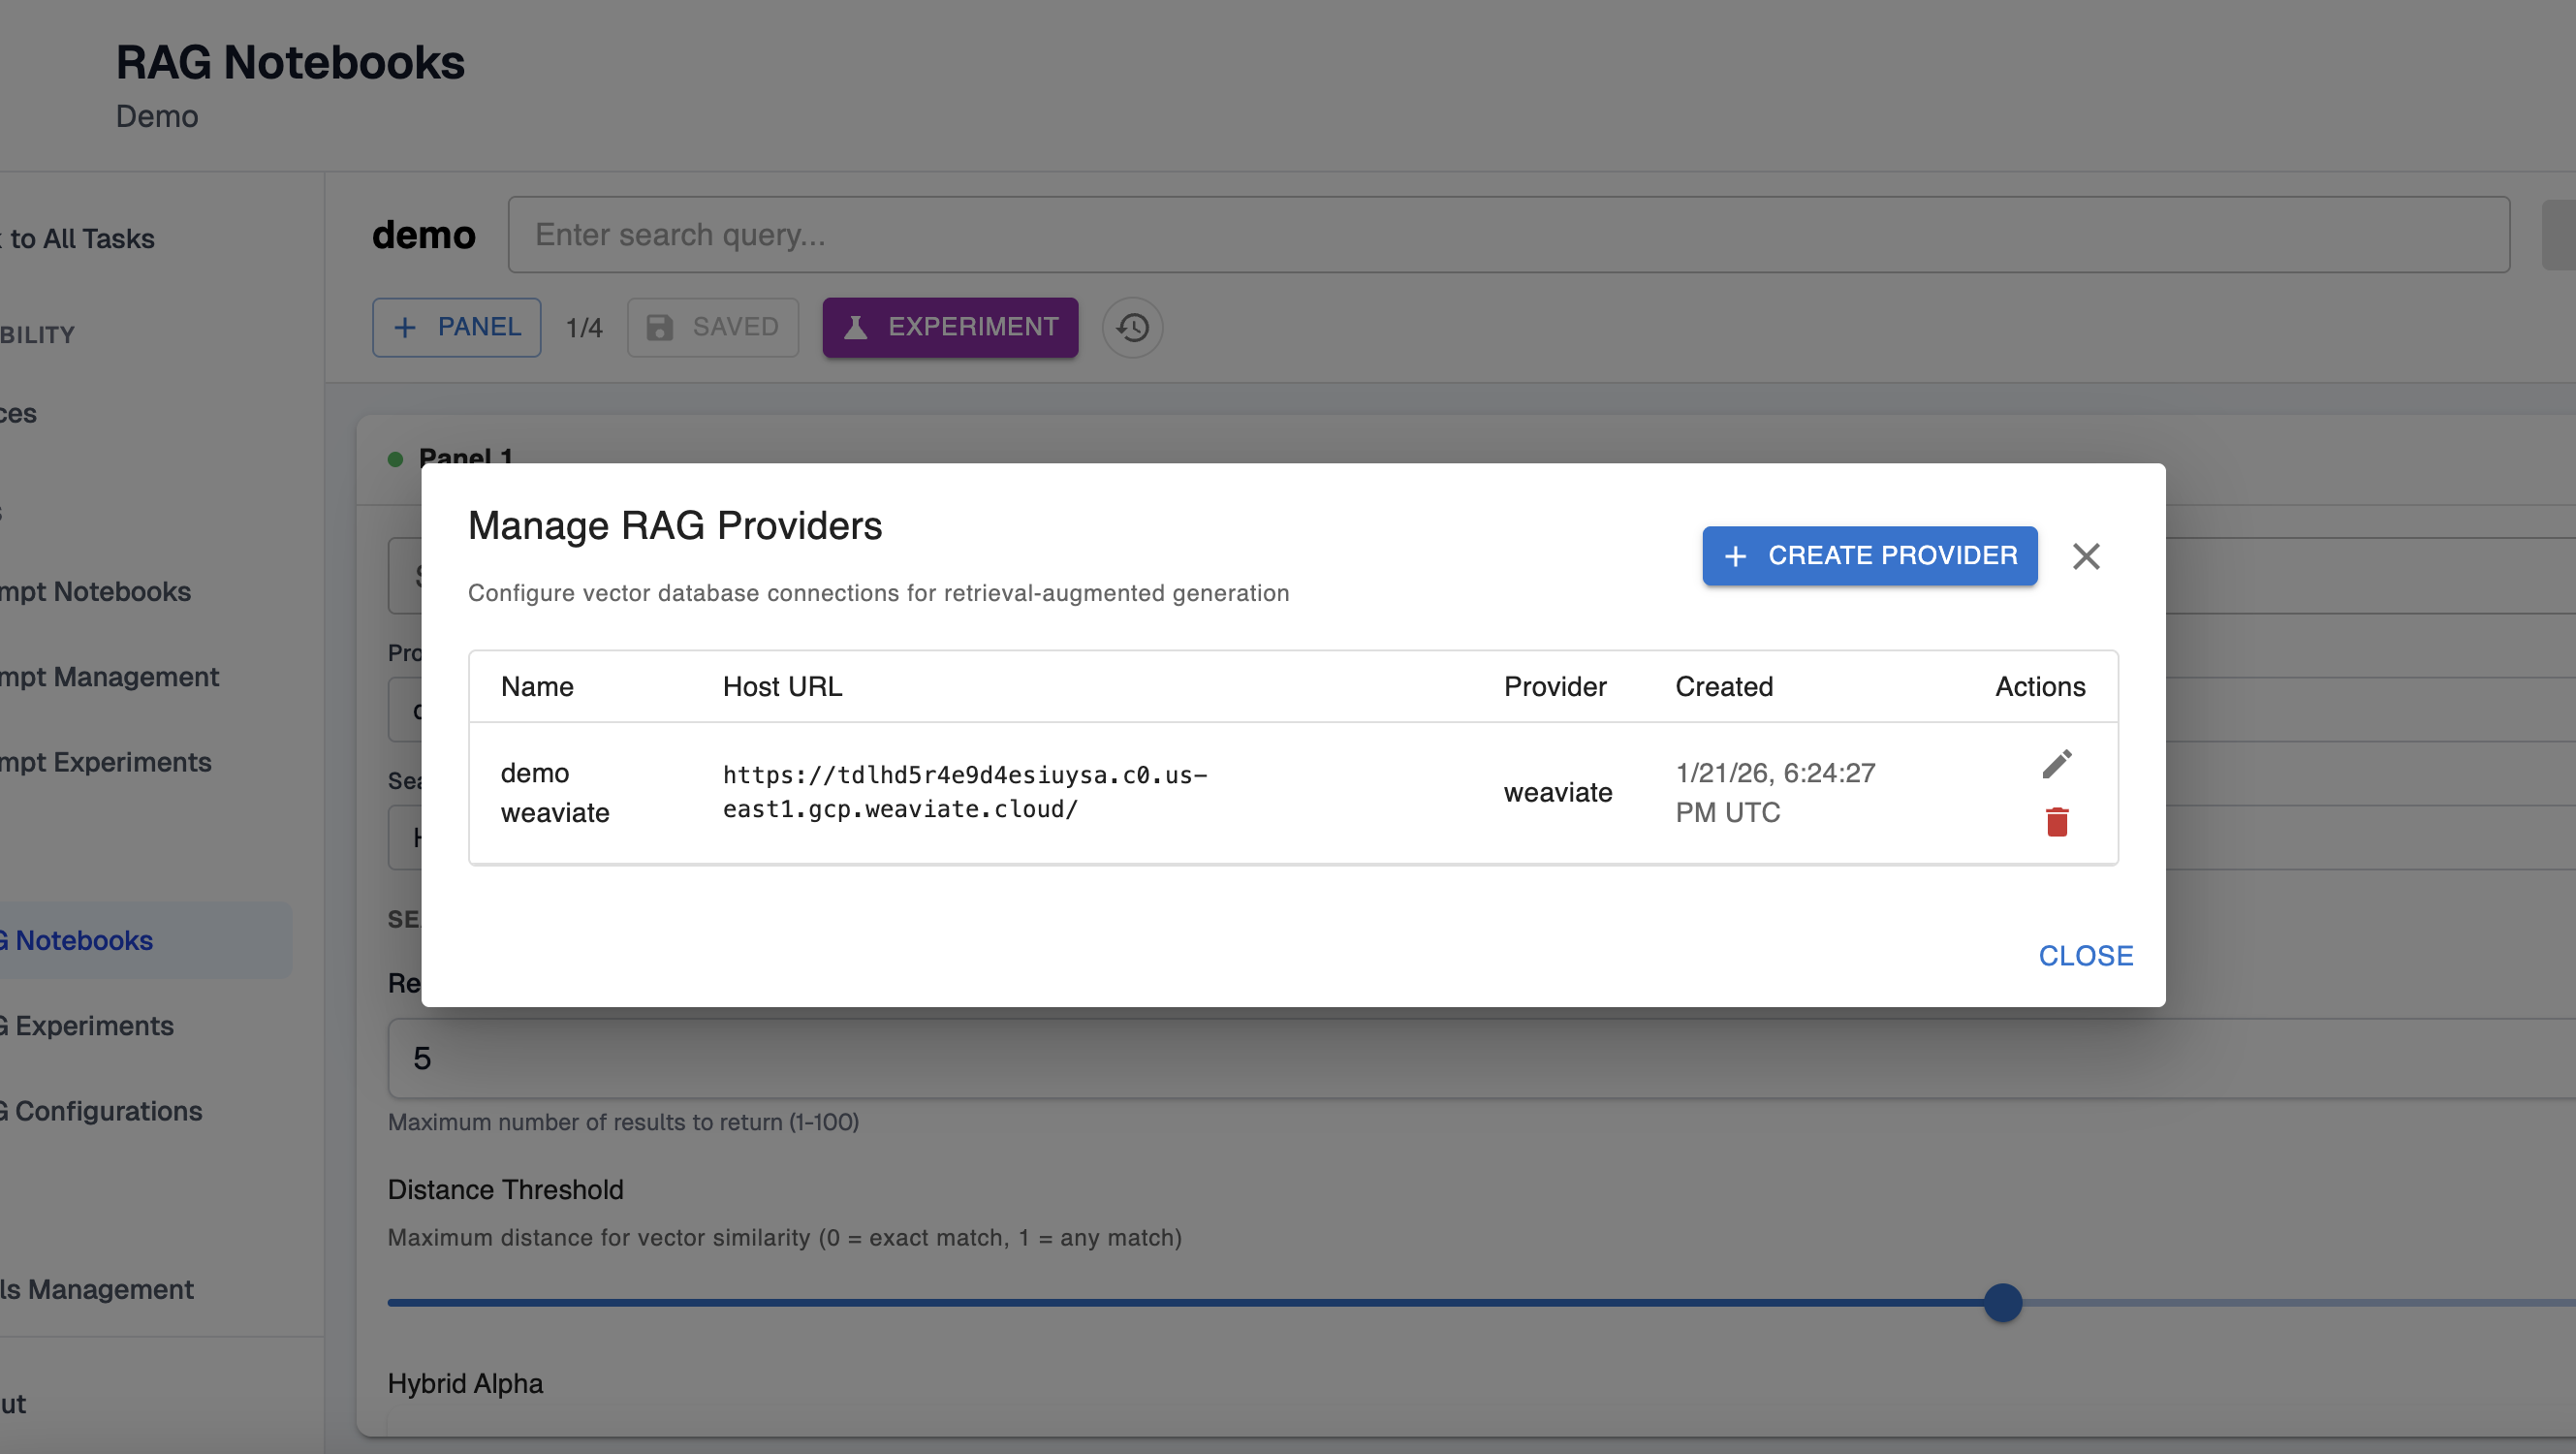
Step 2: Configure notebook RAG provider
Here, you will configure the RAG provider that will be used for the notebook. If you have an existing RAG provider, it will be configured for the notebook by default. Otherwise, you can select the settings icon in the top right to manage existing providers and, optionally, create a new one:
Step 3: Create notebook configuration
In the next step, you’ll see the configuration screen for your RAG notebook.
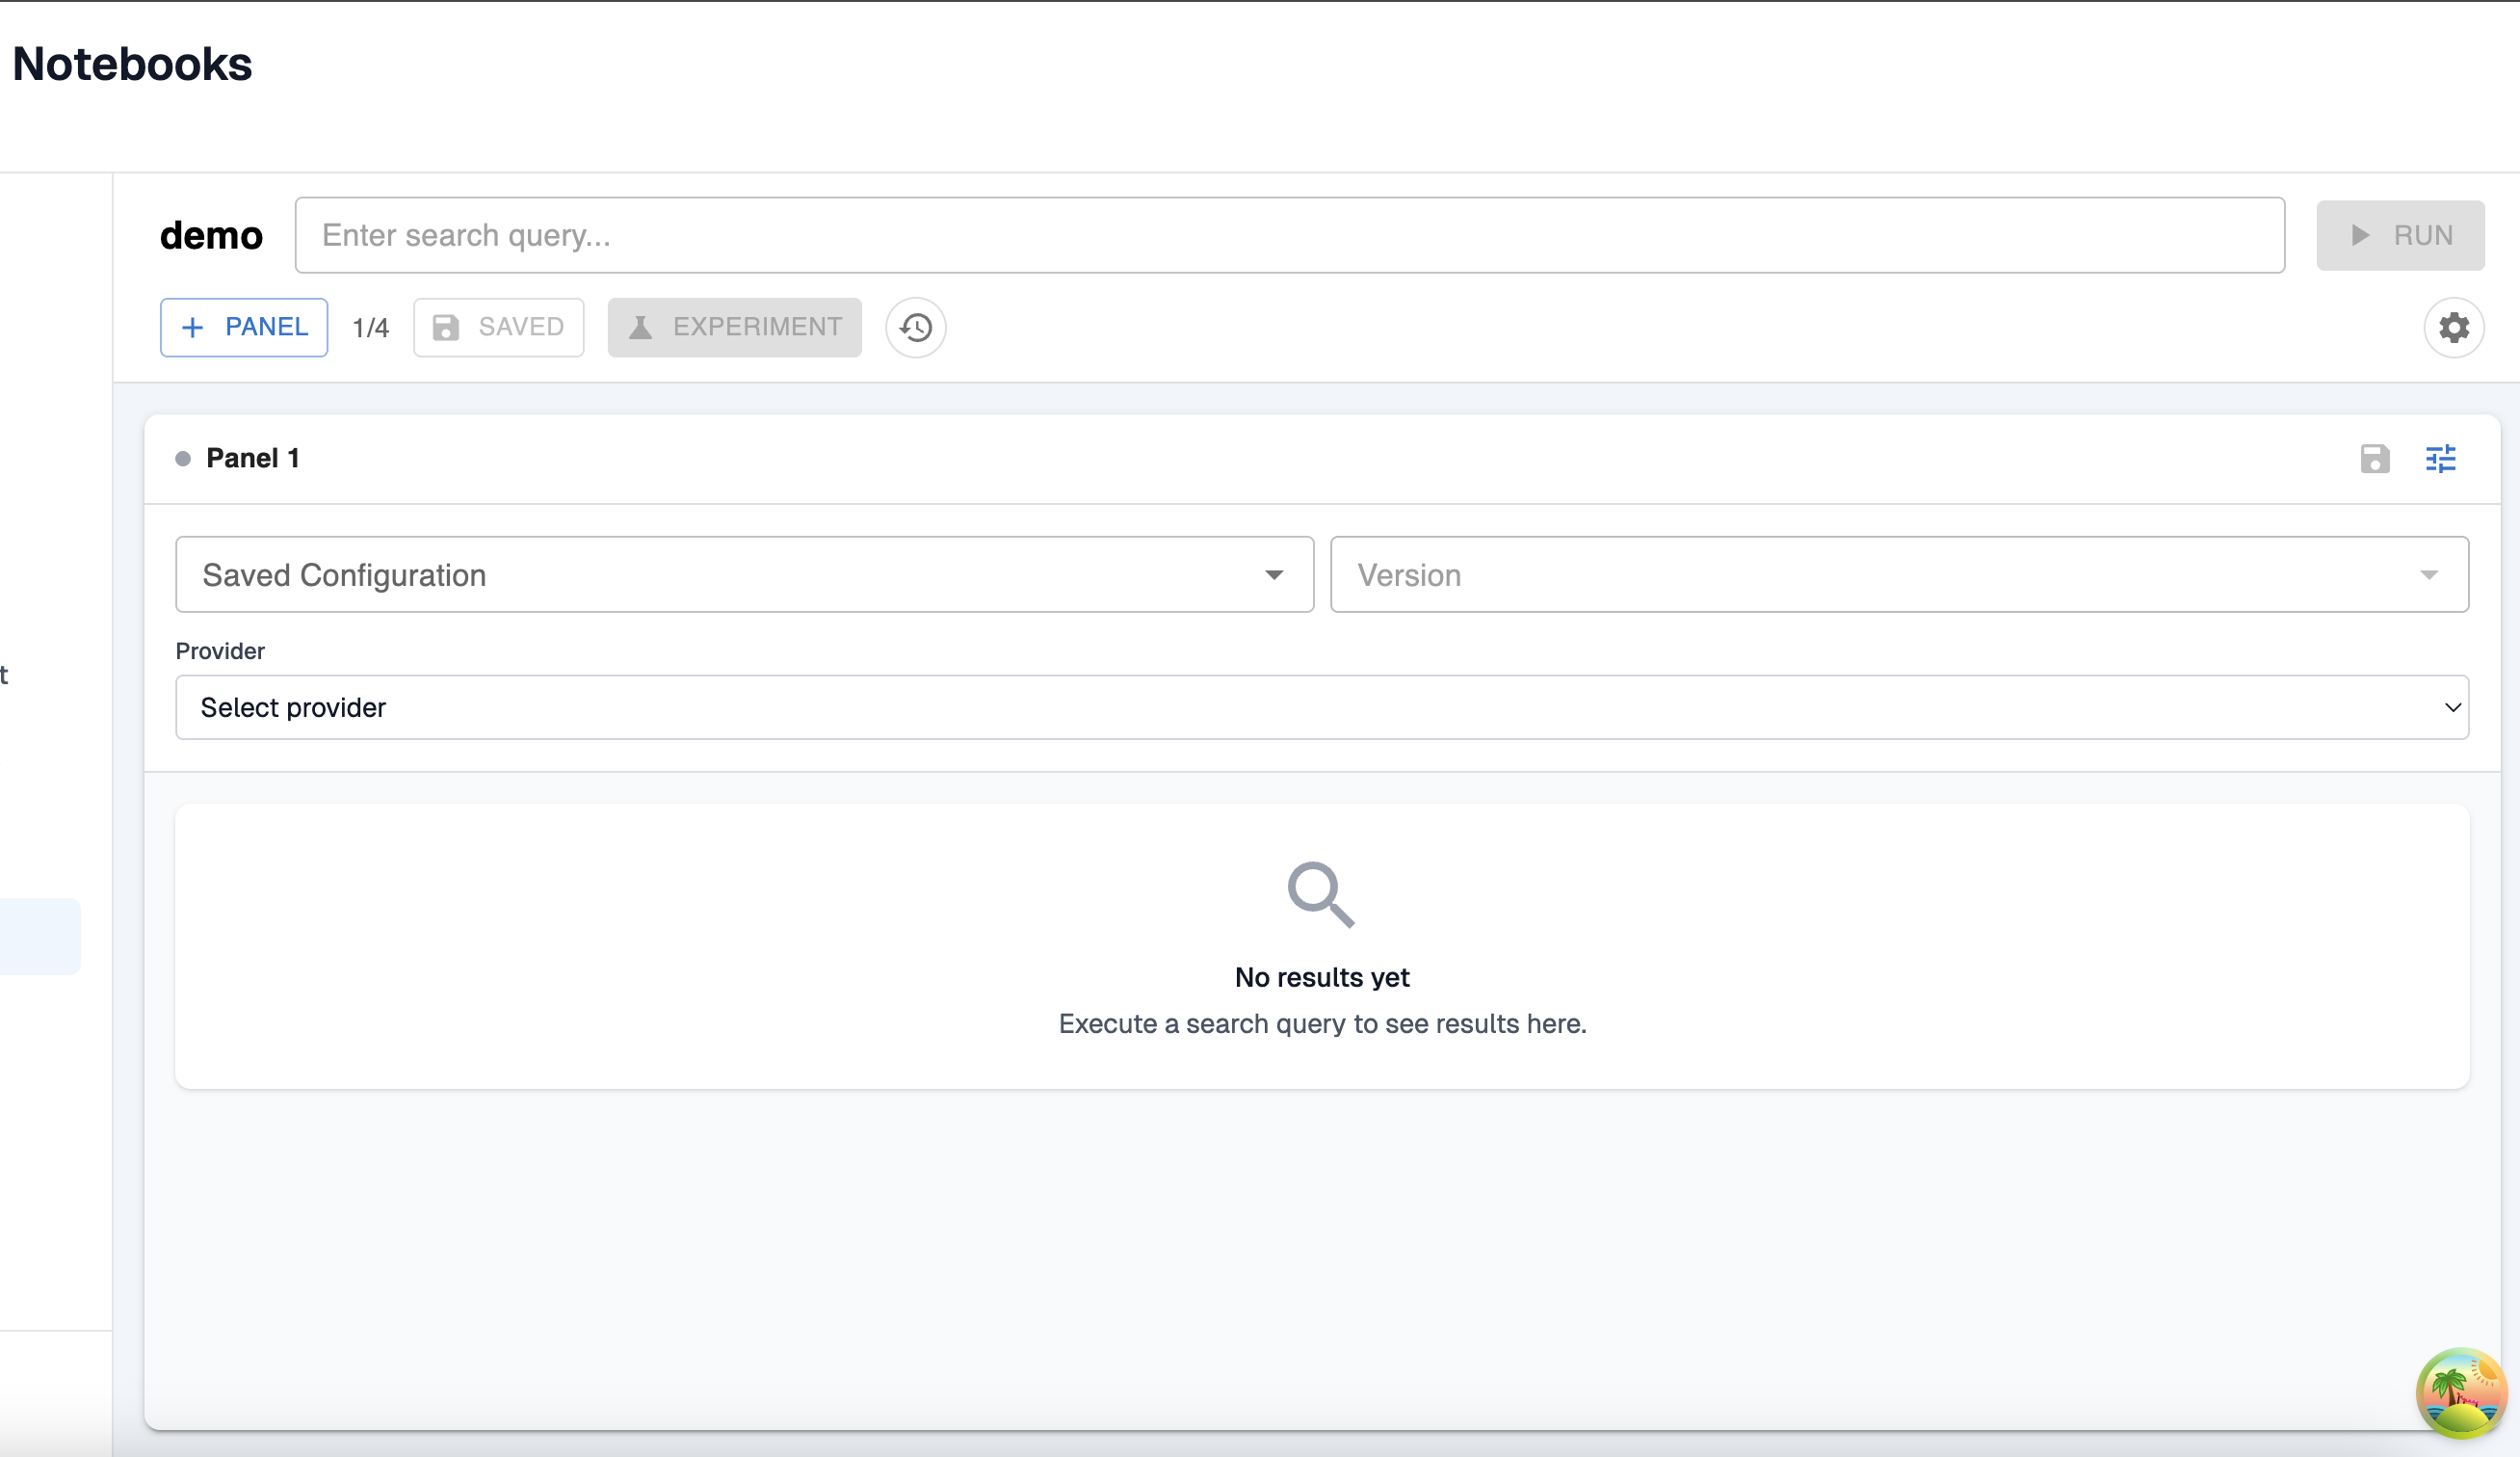
You have a few options here:
- Add an existing saved configuration to your notebook.
- Create a new, unsaved configuration that only exists in your notebook. This allows you to change the settings that you might want to use an experiment within your notebook without having to go back and update your saved configurations. You’ll be able to run experiments over these unsaved configurations the same as the saved configurations.
💡 To add more than one configuration to a notebook, add an additional panel to the notebook. Also, once your notebook is set up as desired, make sure to save the state in the top left!
Step 4: Run an experiment from a notebook
Once your notebook is configured as needed, press the “Experiment” button in the top left to run an experiment with the configuration in your notebook. Here, you’ll need to set up the evaluators and datasets as in the view to creating an entirely new experiment. Refer to that guide if you need more information about this step.
Step 5: View Previously Run Experiments
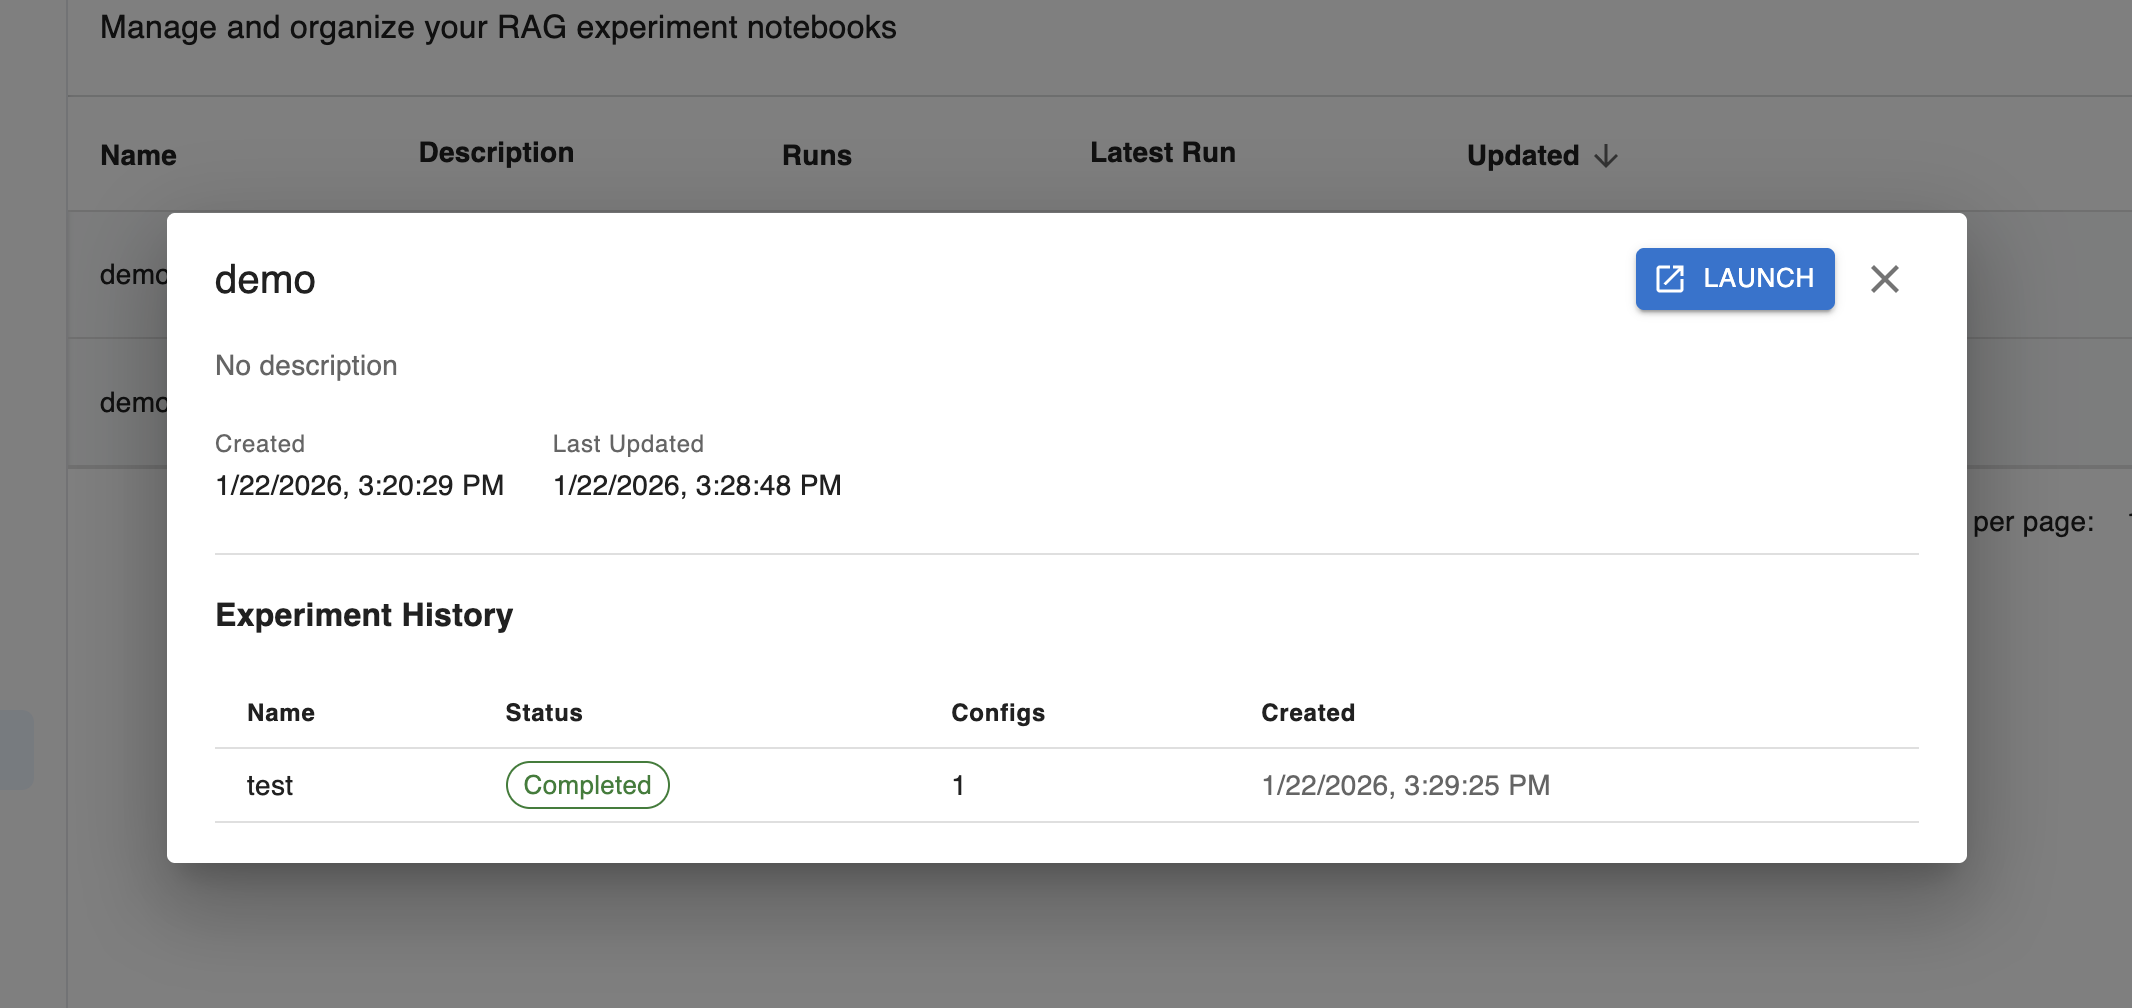
If you run an experiment from a notebook, that experiment will be attached to the notebook history. If you click into a notebook on the management screen, you’ll be able to see the experiments run for that notebook.
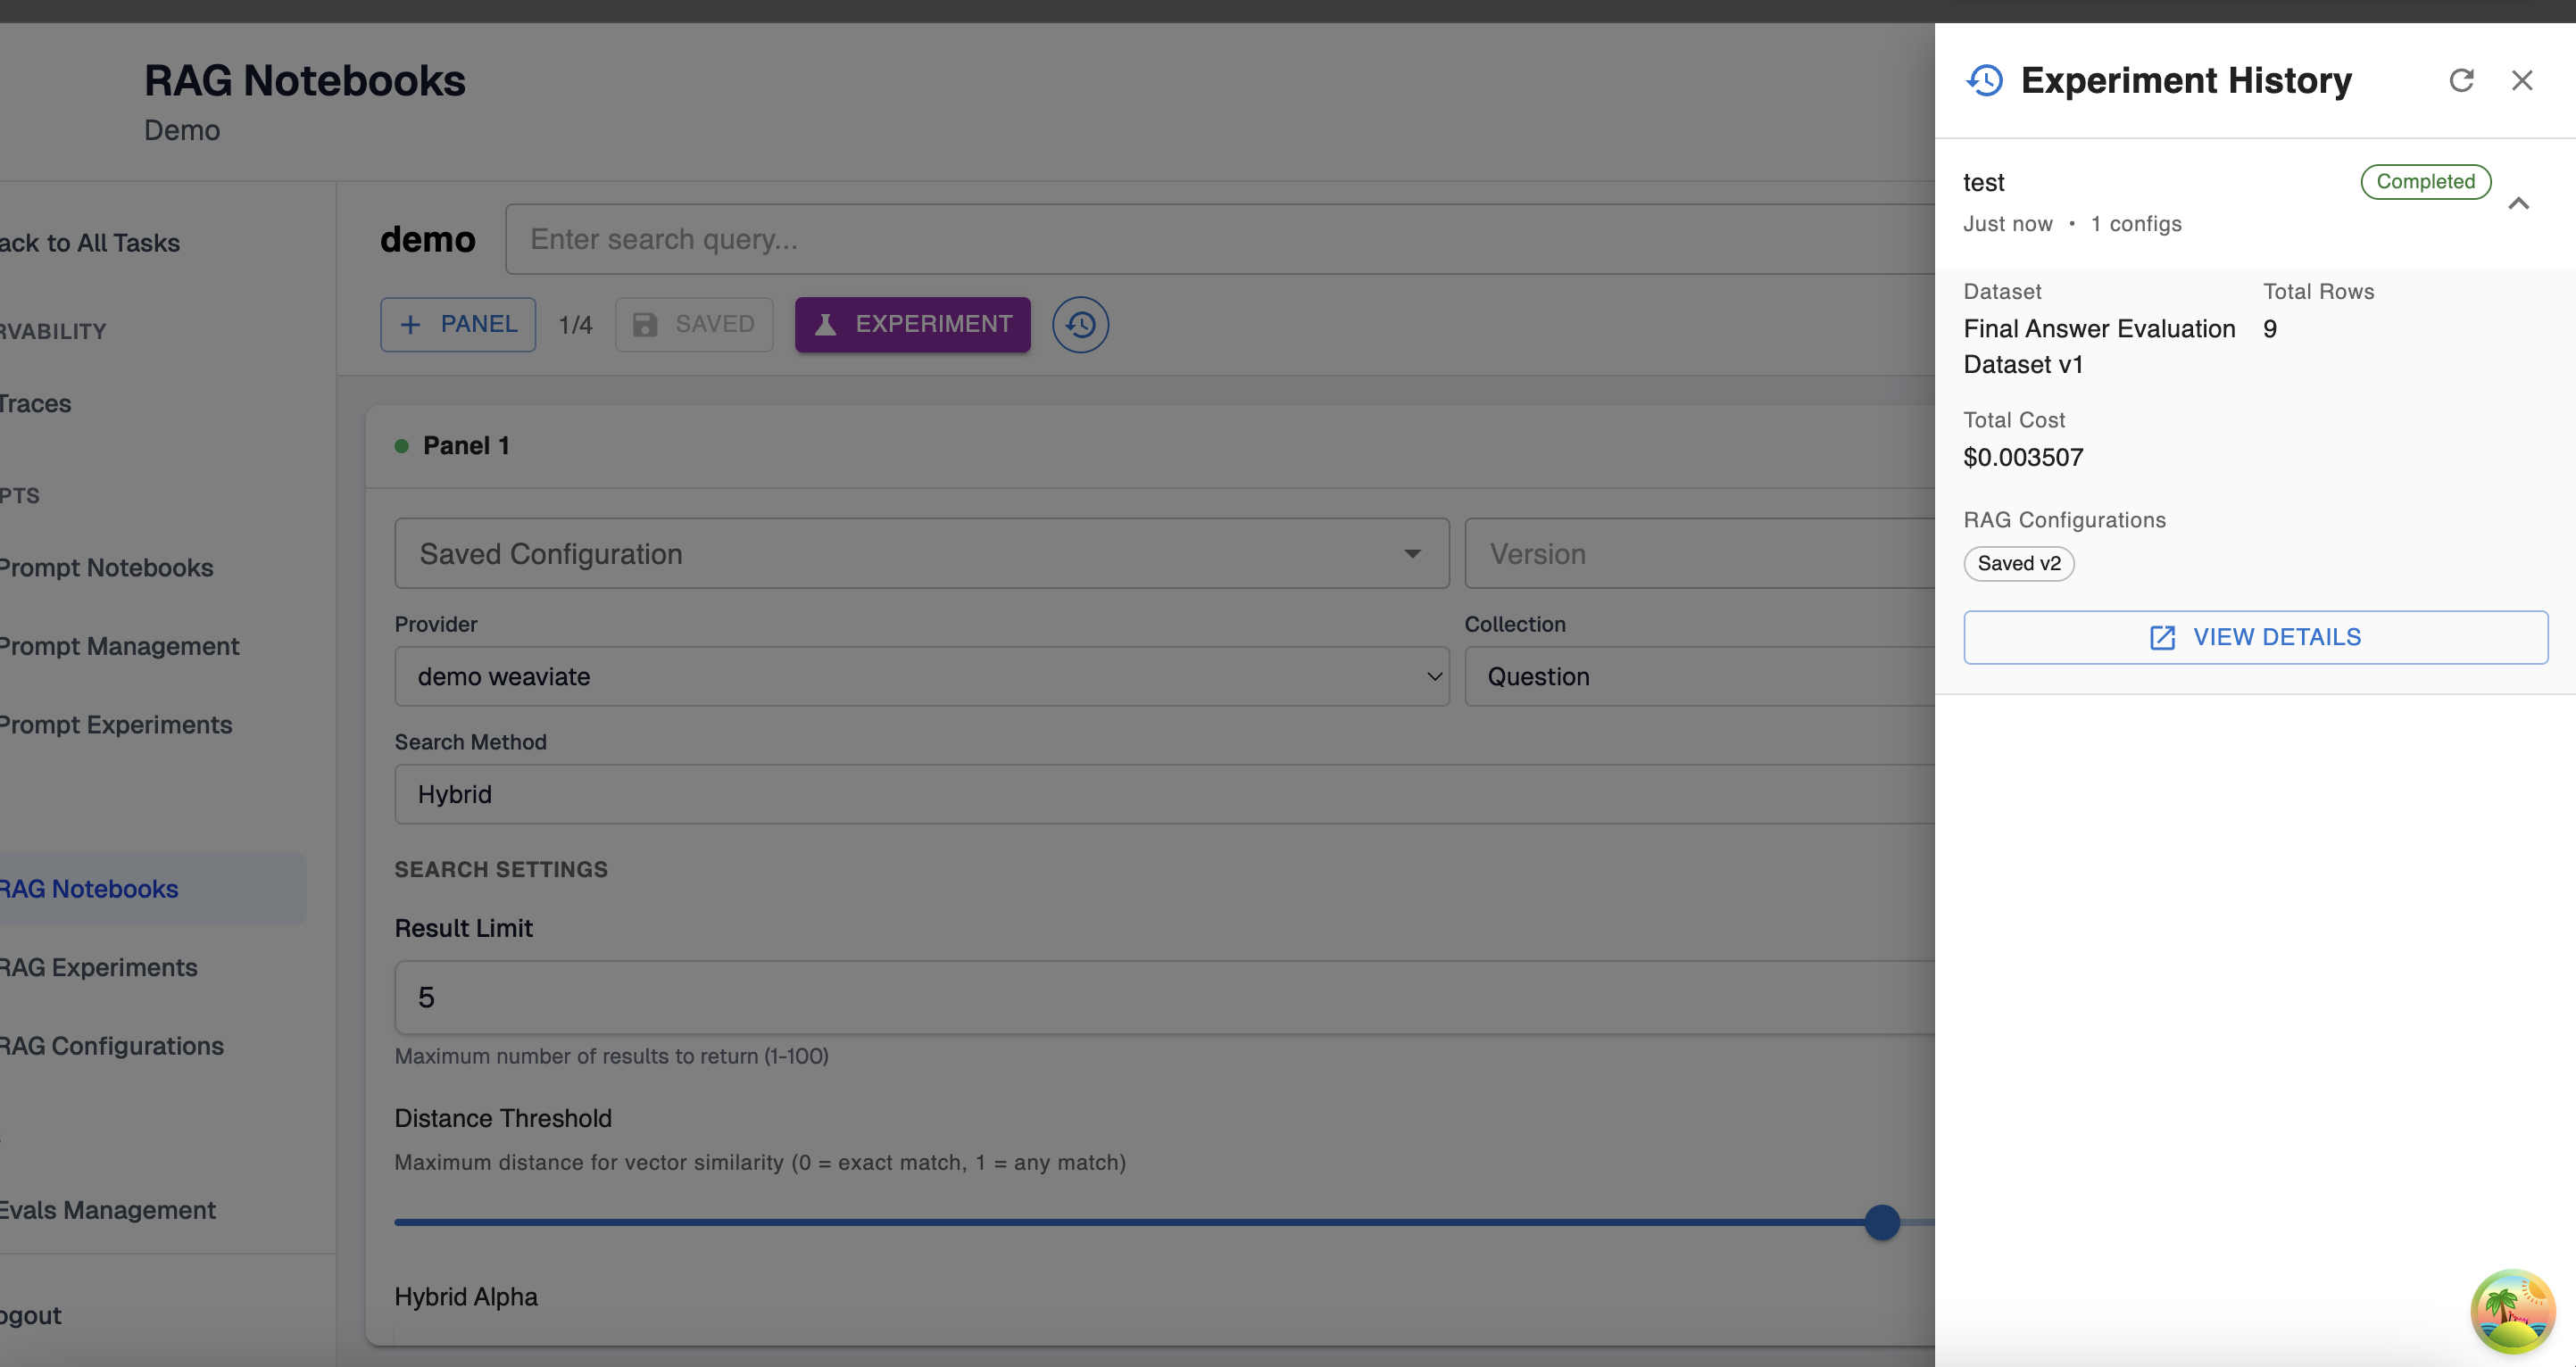
Additionally, if you’ve launched the notebook, you can select the time button to the right of the experiment button. Here, you can expand the details of past experiments to see their outcomes and test cases.
💡 At this point, you’ve successfully set up your first notebook! You now have an experiment configuration you can make changes to, experiment with, and re-use as you evaluate the performance of RAG settings configurations for your agents.