Agentic Test
AI agents are non-deterministic. The same user input can trigger a different sequence of tool calls, sub-agent delegations, or LLM completions on every run. Traditional unit tests assert on fixed outputs — they cannot catch emergent failure modes like a tool being called in the wrong order, a reasoning loop that never terminates, or a new capability your agent has quietly acquired.
Arthur addresses this with four composable features:
| Stage | Feature | Purpose |
|---|---|---|
| 1 — Monitor | Continuous Evaluations | Production monitoring: score every incoming trace automatically with an LLM evaluator |
| 2 — Iterate | Agentic Notebook | Saved eval configuration: call your agent's HTTP endpoint, run against a dataset, reuse across runs |
| 3 — Validate | Agentic Experiments | One-off eval run: same endpoint + dataset + evaluator model, not saved as a reusable config |
| 4 — Discover | Agent Discovery | Behavioral detection: surface new tools, sub-agents, and models as they appear |
flowchart LR
    A([Your Agent]) --> B[Continuous Evaluations]
    B --> C[Agentic Notebook]
    C --> D[Agentic Experiments]
    D --> E[Agent Discovery]
    E -->|New behavior found| C
Each stage feeds the next. Continuous Evaluations establish your production baseline first. The Notebook gives you a reusable configuration to run batch evaluations against your agent's endpoint as you iterate. Experiments are one-off runs you trigger when you need a quick check without saving the configuration. Agent Discovery closes the loop by surfacing behavioral drift that triggers a new notebook run to investigate.
Prerequisites
Before you begin, make sure you have:
- An Arthur account with at least one Workspace and Task created
- An
ARTHUR_API_KEYenvironment variable set, or the key ready to pass explicitly - For Continuous Evaluations: an agent sending traces via OTLP, a Transform, and an LLM Evaluator (see the Continuous Evaluations section below)
- For Notebooks and Experiments: an agent exposed as an HTTP endpoint that Arthur can call, a versioned dataset, and an LLM Evaluator
Set Up Continuous Monitoring
Continuous Evaluations are the starting point. Before exploring individual behaviors or running batch experiments, configure production monitoring so you have a live baseline from day one — automatically applied to every trace Arthur receives.
How it works
flowchart TD
    A[Production Agent] -->|Traces via OTLP| B[Arthur Ingest]
    B --> C[Transform\nmaps trace attributes to variables]
    C --> D[LLM Evaluator\nruns on every trace]
    D -->|passed / failed / skipped| E[Evaluate → Results]
    E --> F[Trace Annotations\npass/fail visible per trace]
    F -->|Failure pattern| G[Investigate in Notebook\nor add to Dataset]
Prerequisites for this section
Before you can create a Continuous Eval, you need two things in place:
- A Transform — maps the trace attributes you want to evaluate (e.g., the LLM's input and output messages) to named variables the evaluator can consume. Navigate to your task → Transforms → Create Transform. See Transforms for details.
- An LLM Evaluator — the LLM-as-a-judge that will score each trace. It must have at least one published version. Navigate to your task → Evaluate → Evaluators Management → + New Evaluator. See LLM Evaluators for details.
Step 1 — Create the Continuous Eval
Navigate to your task → Evaluate → Continuous Evals → + New Continuous Eval.
Fill in:
- Continuous Eval Name — a descriptive label
- Evaluator Name + Version — the evaluator to run on each trace
- Transform — which transform maps your trace attributes to this evaluator's variables
If the transform exposes more variables than the evaluator needs, use the variable mapping screen to specify which transform variable maps to each evaluator input.
Step 2 — Review results
Once traces are flowing, navigate to your task → Evaluate → Results. Each row shows:
- Status —
passed,failed,skipped,error, orpending - Score — binary:
1(pass) or0(fail) - Explanation — the evaluator's reasoning for its decision
- Variable values — the exact inputs that were evaluated
- Cost and timestamps
Continuous eval annotations are also visible directly in the Traces view — the annotations column shows pass/fail/skipped/error counts per trace, giving you a quick signal of which traces had issues without opening each one.
Responding to failures: When an eval fires consistently, add those failing traces to a behavior dataset with the correct expected output, then use the Notebook and Experiments stages to find and validate a fix before promoting the change to production.
Create an Agentic Notebook
An Agentic Notebook is a saved, reusable evaluation configuration. You define your agent's HTTP endpoint, pick a dataset and evaluator, map the variables, and click Execute Notebook to run a full batch evaluation. Because the configuration is saved, you can re-execute it after every prompt change or deployment without reconfiguring from scratch — and every run is recorded in the notebook's Experiment History.
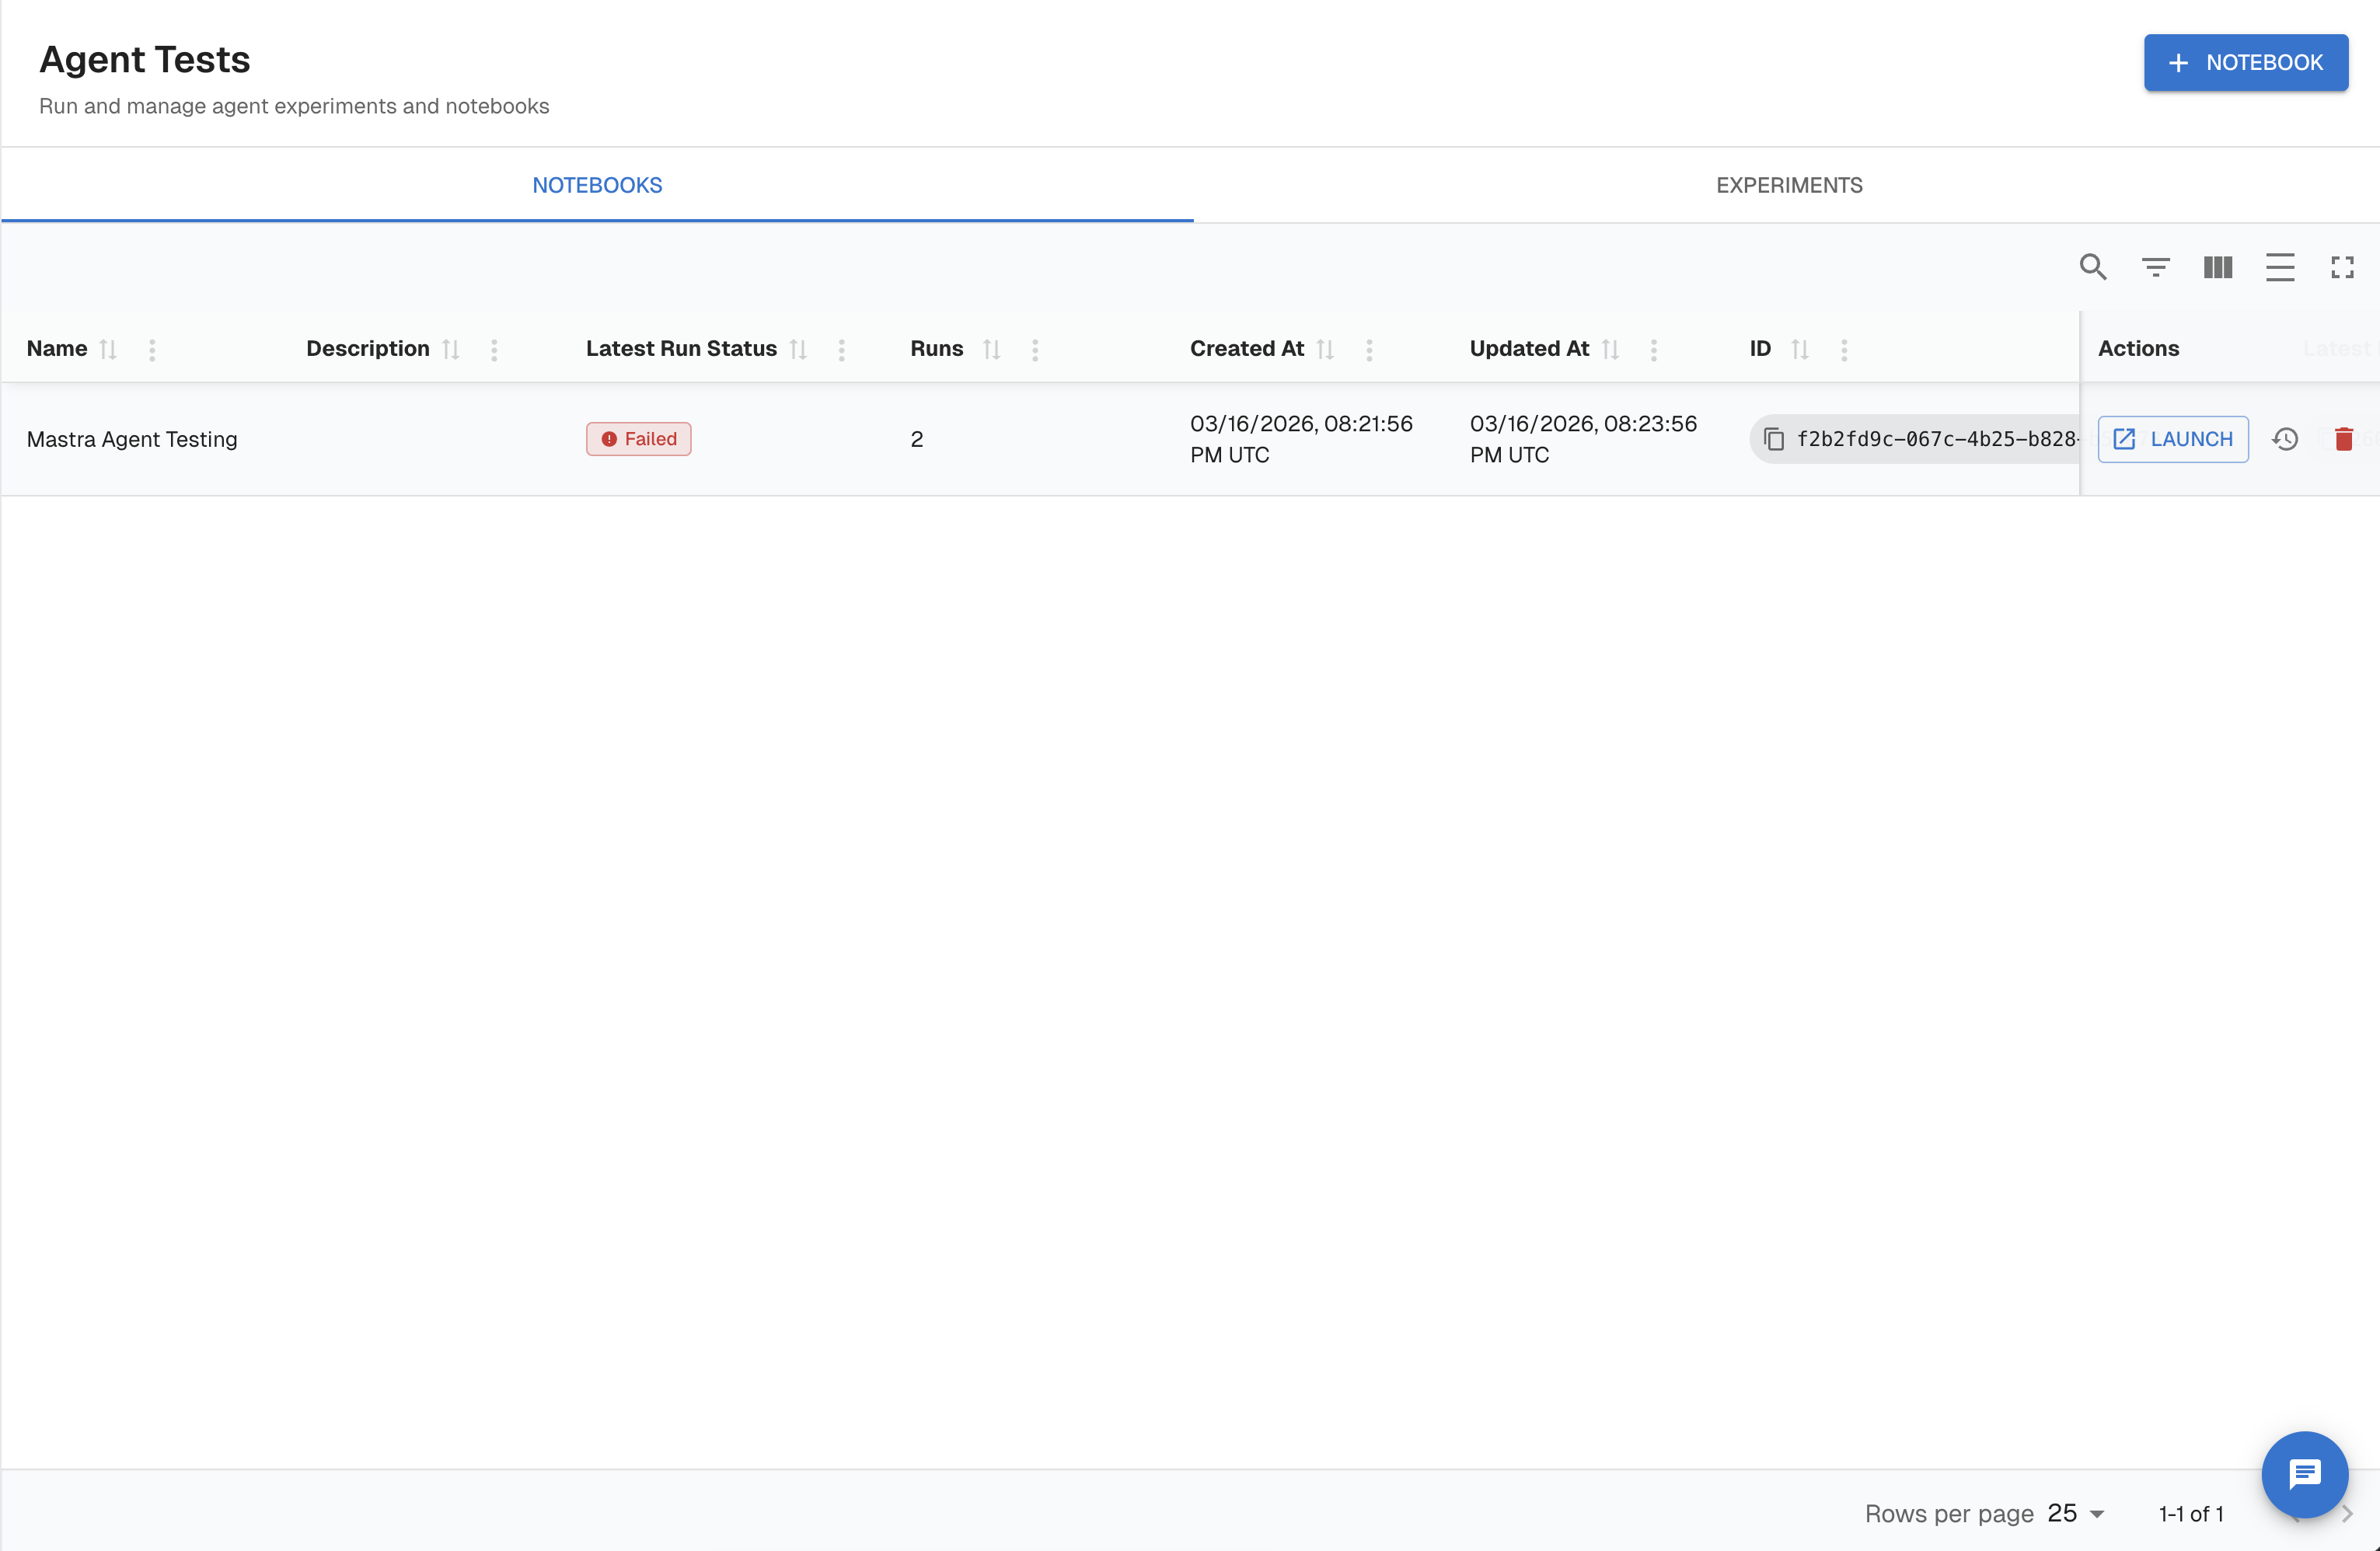
Step 1 — Create a notebook
- In the left sidebar, select Test & Agentic → Notebooks.
- Click New Notebook and give it a name.
Step 2 — Configure the endpoint
Under Endpoint Setup, fill in:
- Endpoint Name — a label for this agent connection (e.g.,
Mastra Agent) - Endpoint URL — the HTTP endpoint Arthur will call for each dataset row (e.g.,
http://10.0.2.2:3001/api/copilotkit) - Headers — any static or dynamic headers. Use
{{ variable }}syntax for values that should vary per row (e.g.,X-Session-ID: {{ session_id }}) - Request Body — the full request payload as a string. Use
{{ variable }}placeholders for dataset values (e.g.,{{ user_query }}). The body is sent as-is after variable substitution.
Arthur parses the placeholders you use and lists them as Variables below the body editor. These are the template variables you will map in a later step.
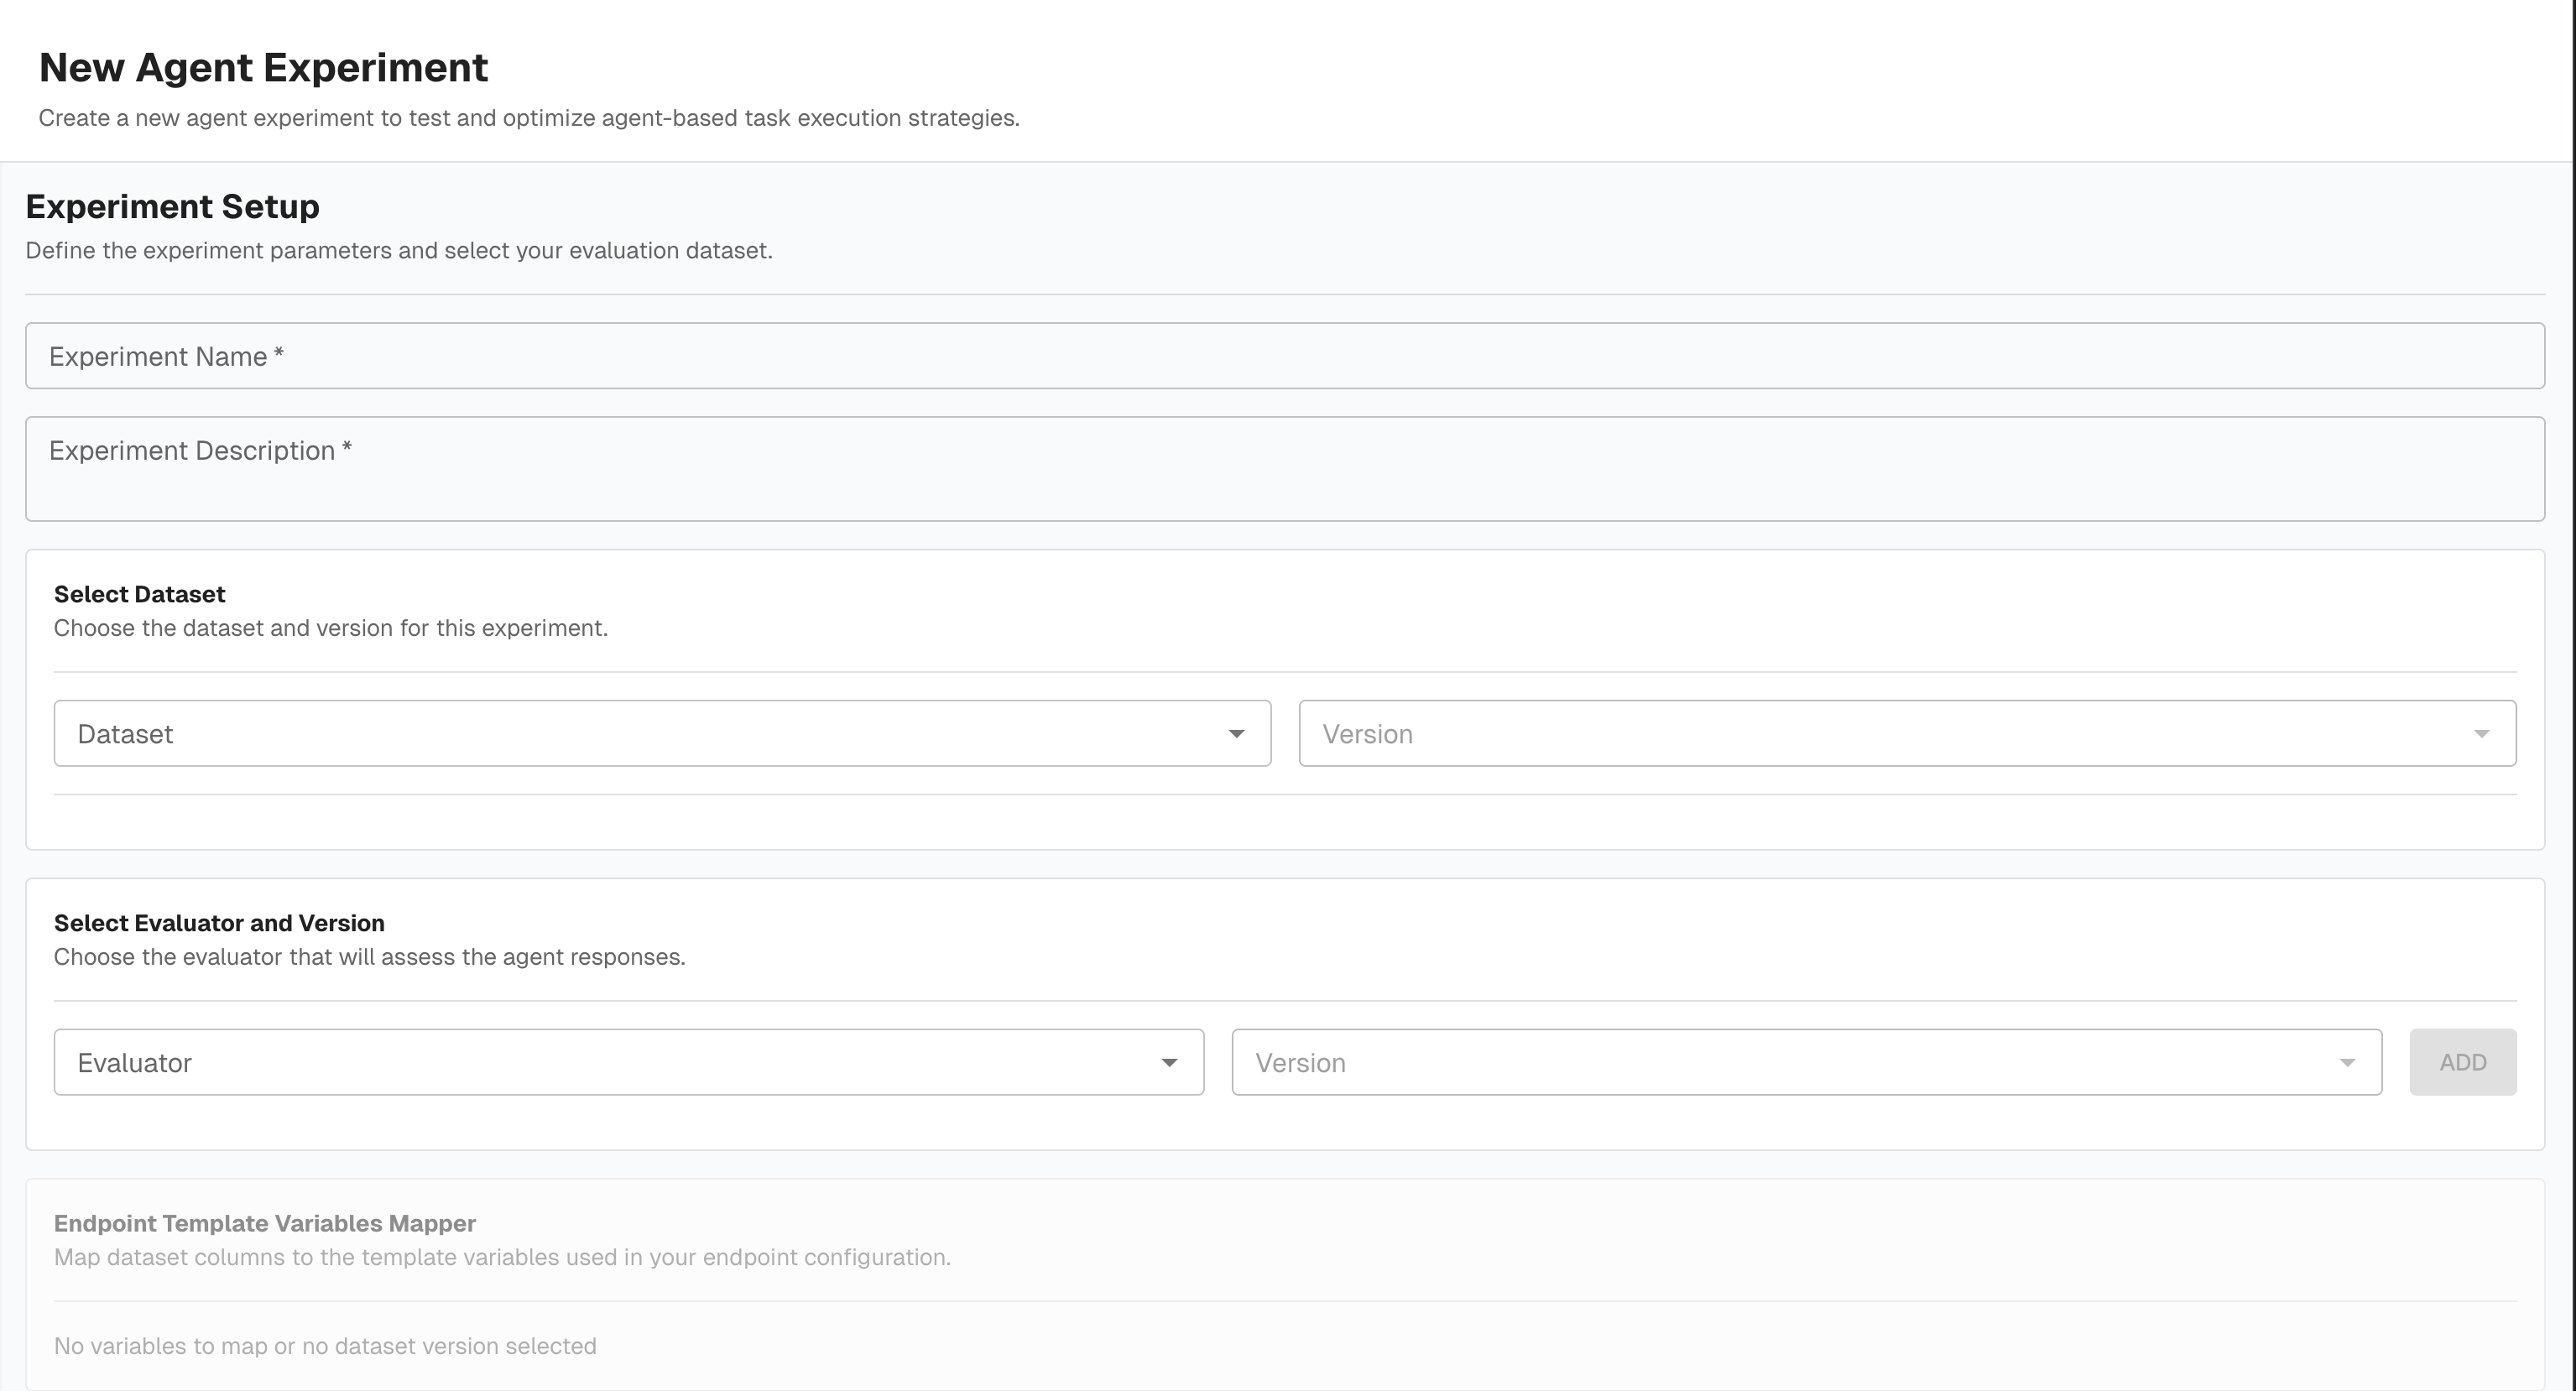
Step 3 — Select a dataset
Under Experiment Setup, fill in the experiment name and description, then:
- Dataset — select the dataset to run against
- Version — select the dataset version
- Dataset Row Filters — optionally add filter conditions to restrict which rows are included in this run
Step 4 — Select an evaluator
Under Select Evaluator and Version, choose the evaluator that will assess the agent's responses and its version, then click Add. The evaluator appears as a chip below the dropdowns. You can add multiple evaluators.
Step 5 — Map endpoint template variables
Under Endpoint Template Variables Mapper, map each {{ variable }} placeholder from your endpoint config to its source:
| Variable | Source Type | Value |
|---|---|---|
session_id | Generated | Session ID — Arthur generates a unique session ID per row |
user_query | Dataset Column | The dataset column containing the input query (e.g., question) |
Step 6 — Map evaluation variables
Under Map Evaluation Variables, configure how each evaluator's inputs are sourced. For each evaluator:
- Select the Transform that extracts the relevant values from the experiment output
- For each evaluator variable, choose whether the value comes from a Dataset Column or the Experiment Output, and set the specific column or transform variable:
| Evaluator variable | Source | Value |
|---|---|---|
response | Experiment Output | Transform variable (e.g., query) — the agent's response, extracted by the transform |
reference | Dataset Column | The column containing the expected/ground-truth value (e.g., expected_sql) |
database_schema | Dataset Column | An additional context column (e.g., database) |
Step 7 — Execute and review
Click Execute Notebook to run the evaluation. A side panel opens showing Experiment History — each run is listed with its status (Running / Failed / Completed), progress (0 / N rows), dataset, and total row count. Click View Details to open the full results view for any run.
Tip: Use Save State to persist your current configuration. Load Config lets you restore a previously saved state or copy settings from another notebook.
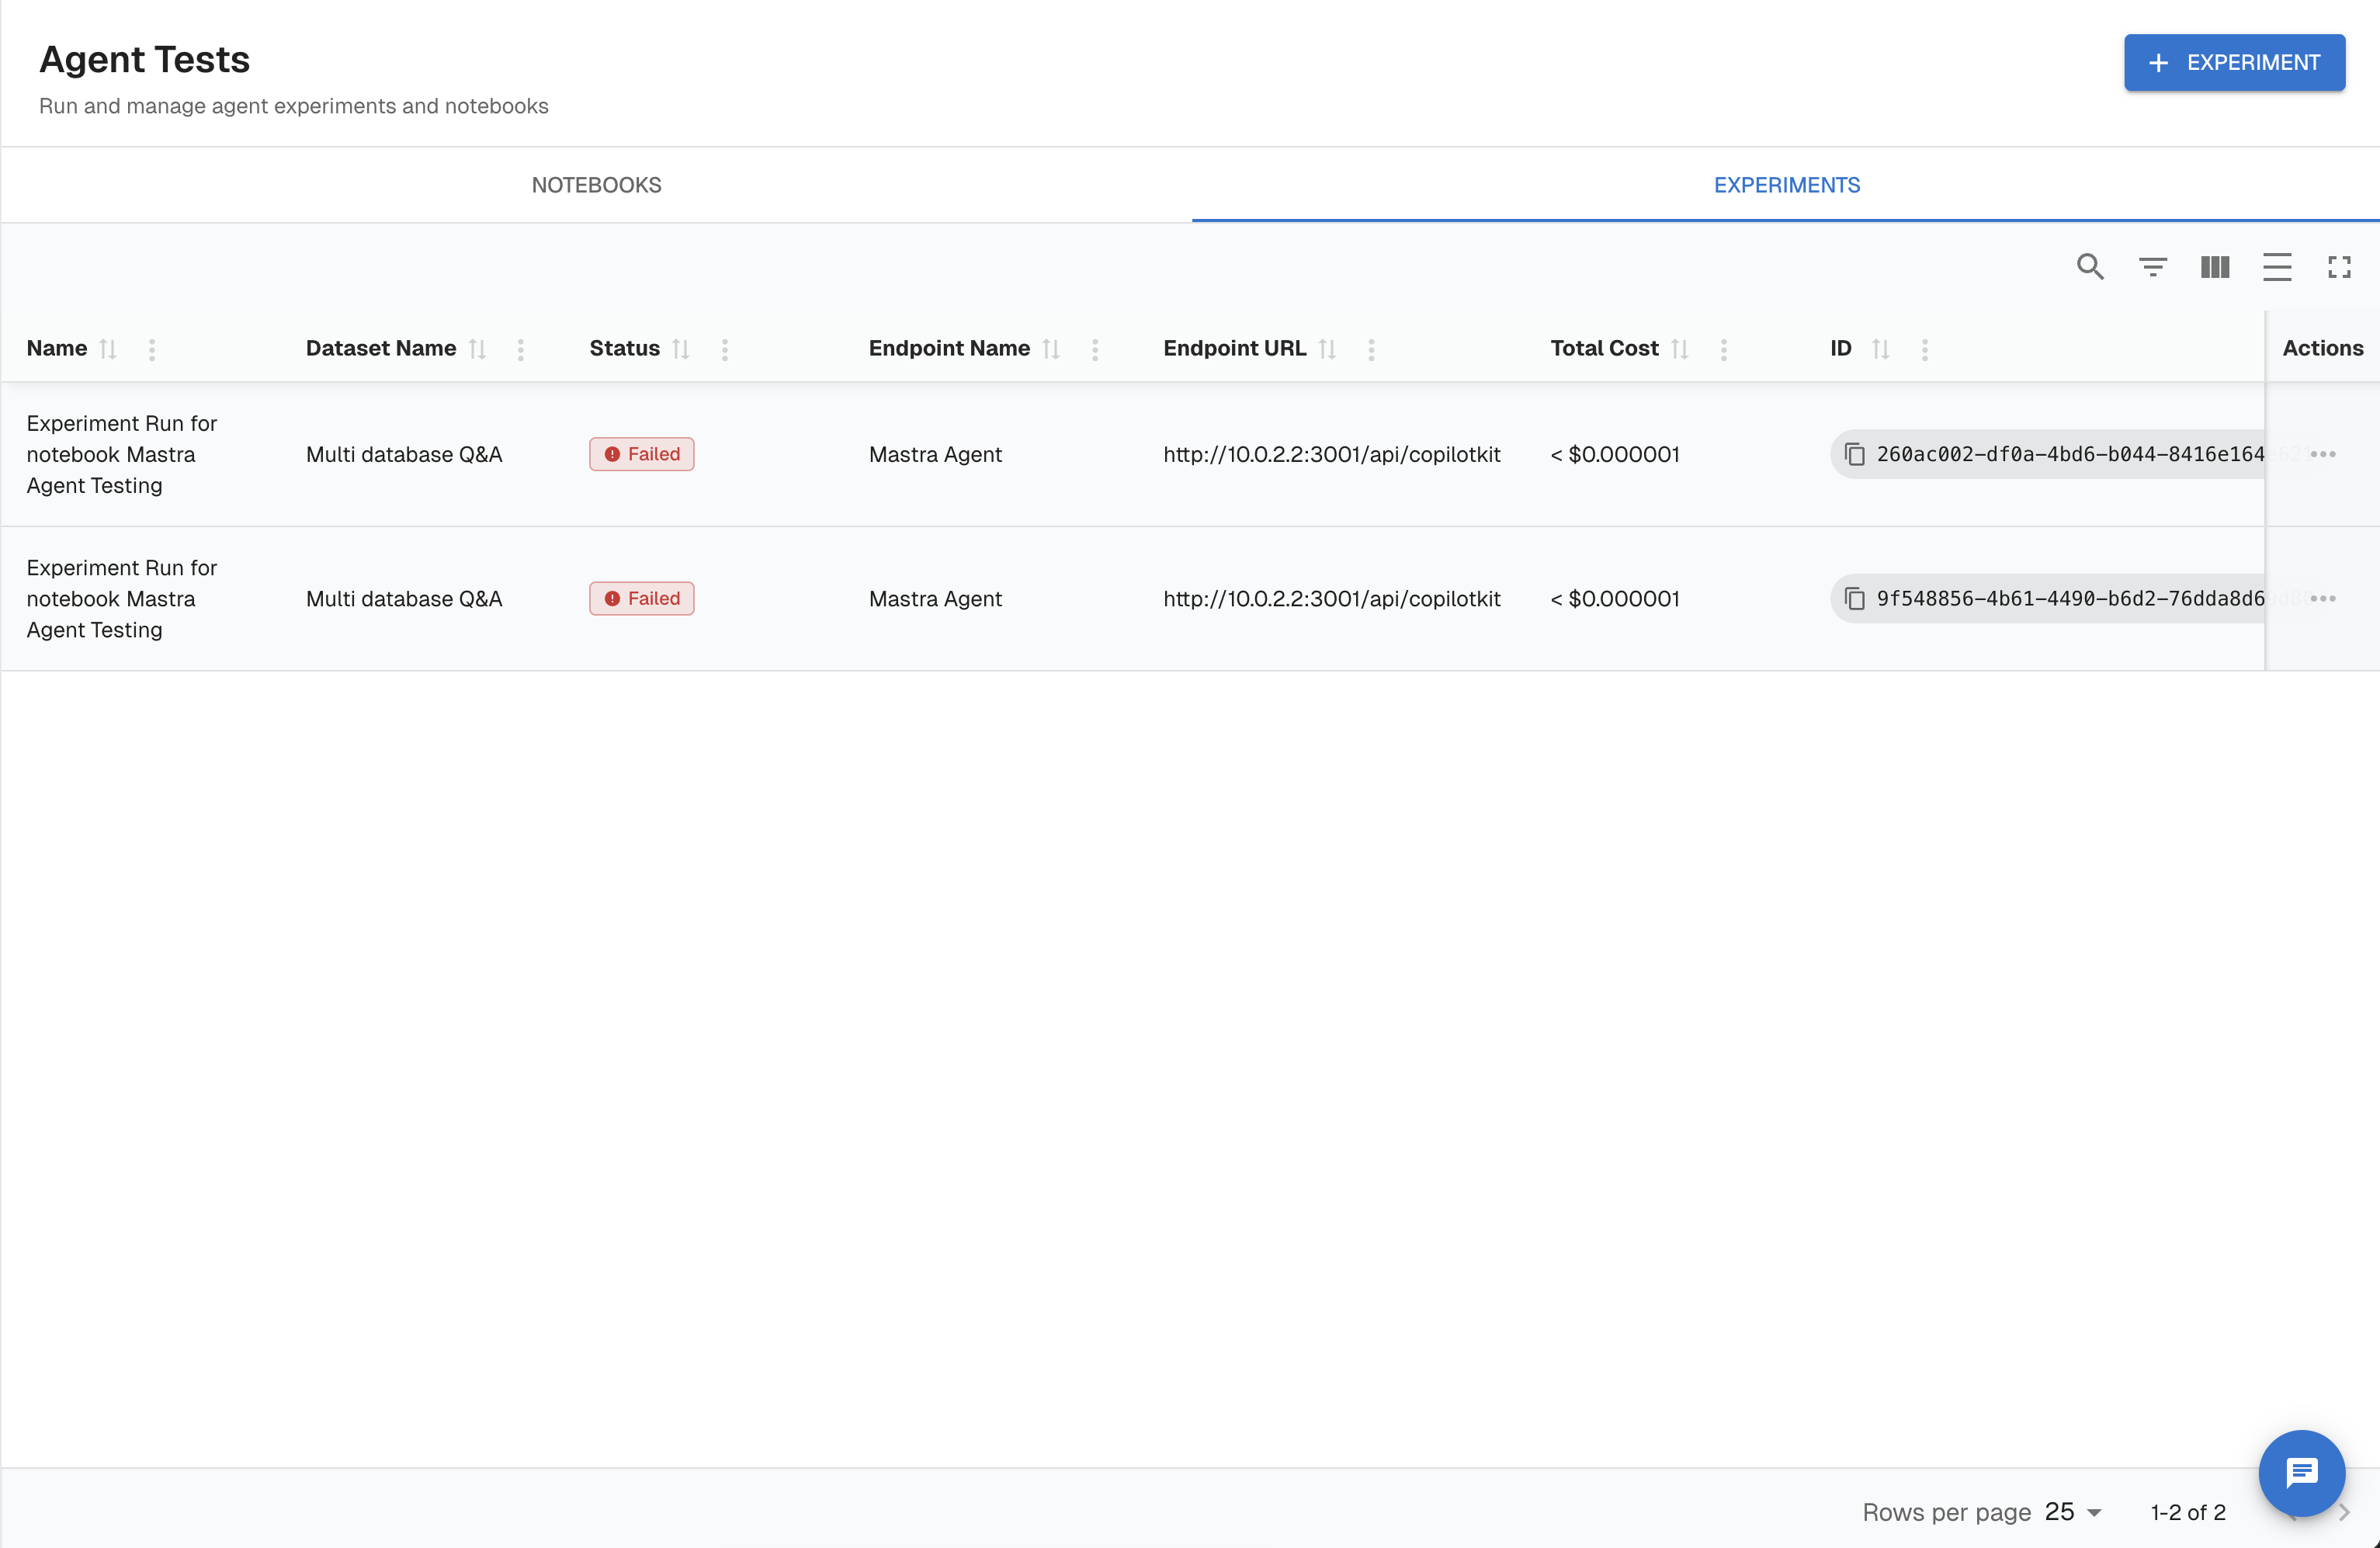
Run Agentic Experiments
An Agentic Experiment uses the same endpoint-call model as a notebook but is a one-off run — the configuration is not saved for reuse. Use experiments when you want a quick evaluation without creating a permanent notebook entry.
Step 1 — Create an experiment
- In the left sidebar, select Test & Agentic → Experiments.
- Click New Experiment.

The form has the same sections as a notebook:
Endpoint Setup
- Endpoint Name and Endpoint URL — the agent API Arthur will call per dataset row
- Headers — static or dynamic headers using
{{ variable }}syntax - Request Body — the full payload string with
{{ variable }}placeholders; Arthur detects and lists the variables automatically
Experiment Setup
- Experiment Name and Description
- Dataset and Version
- Dataset Row Filters — optionally restrict which rows are included
Select Evaluator and Version — add one or more evaluators that will score each response
Endpoint Template Variables Mapper — map each {{ variable }} to its source (Dataset Column or Generated value)
Map Evaluation Variables — for each evaluator, select a Transform and map evaluator inputs to dataset columns or experiment output via transform variables
Step 2 — Run and review results
Click Run. Arthur calls your agent endpoint once per dataset row, applies each evaluator, and displays results in the experiment detail view.
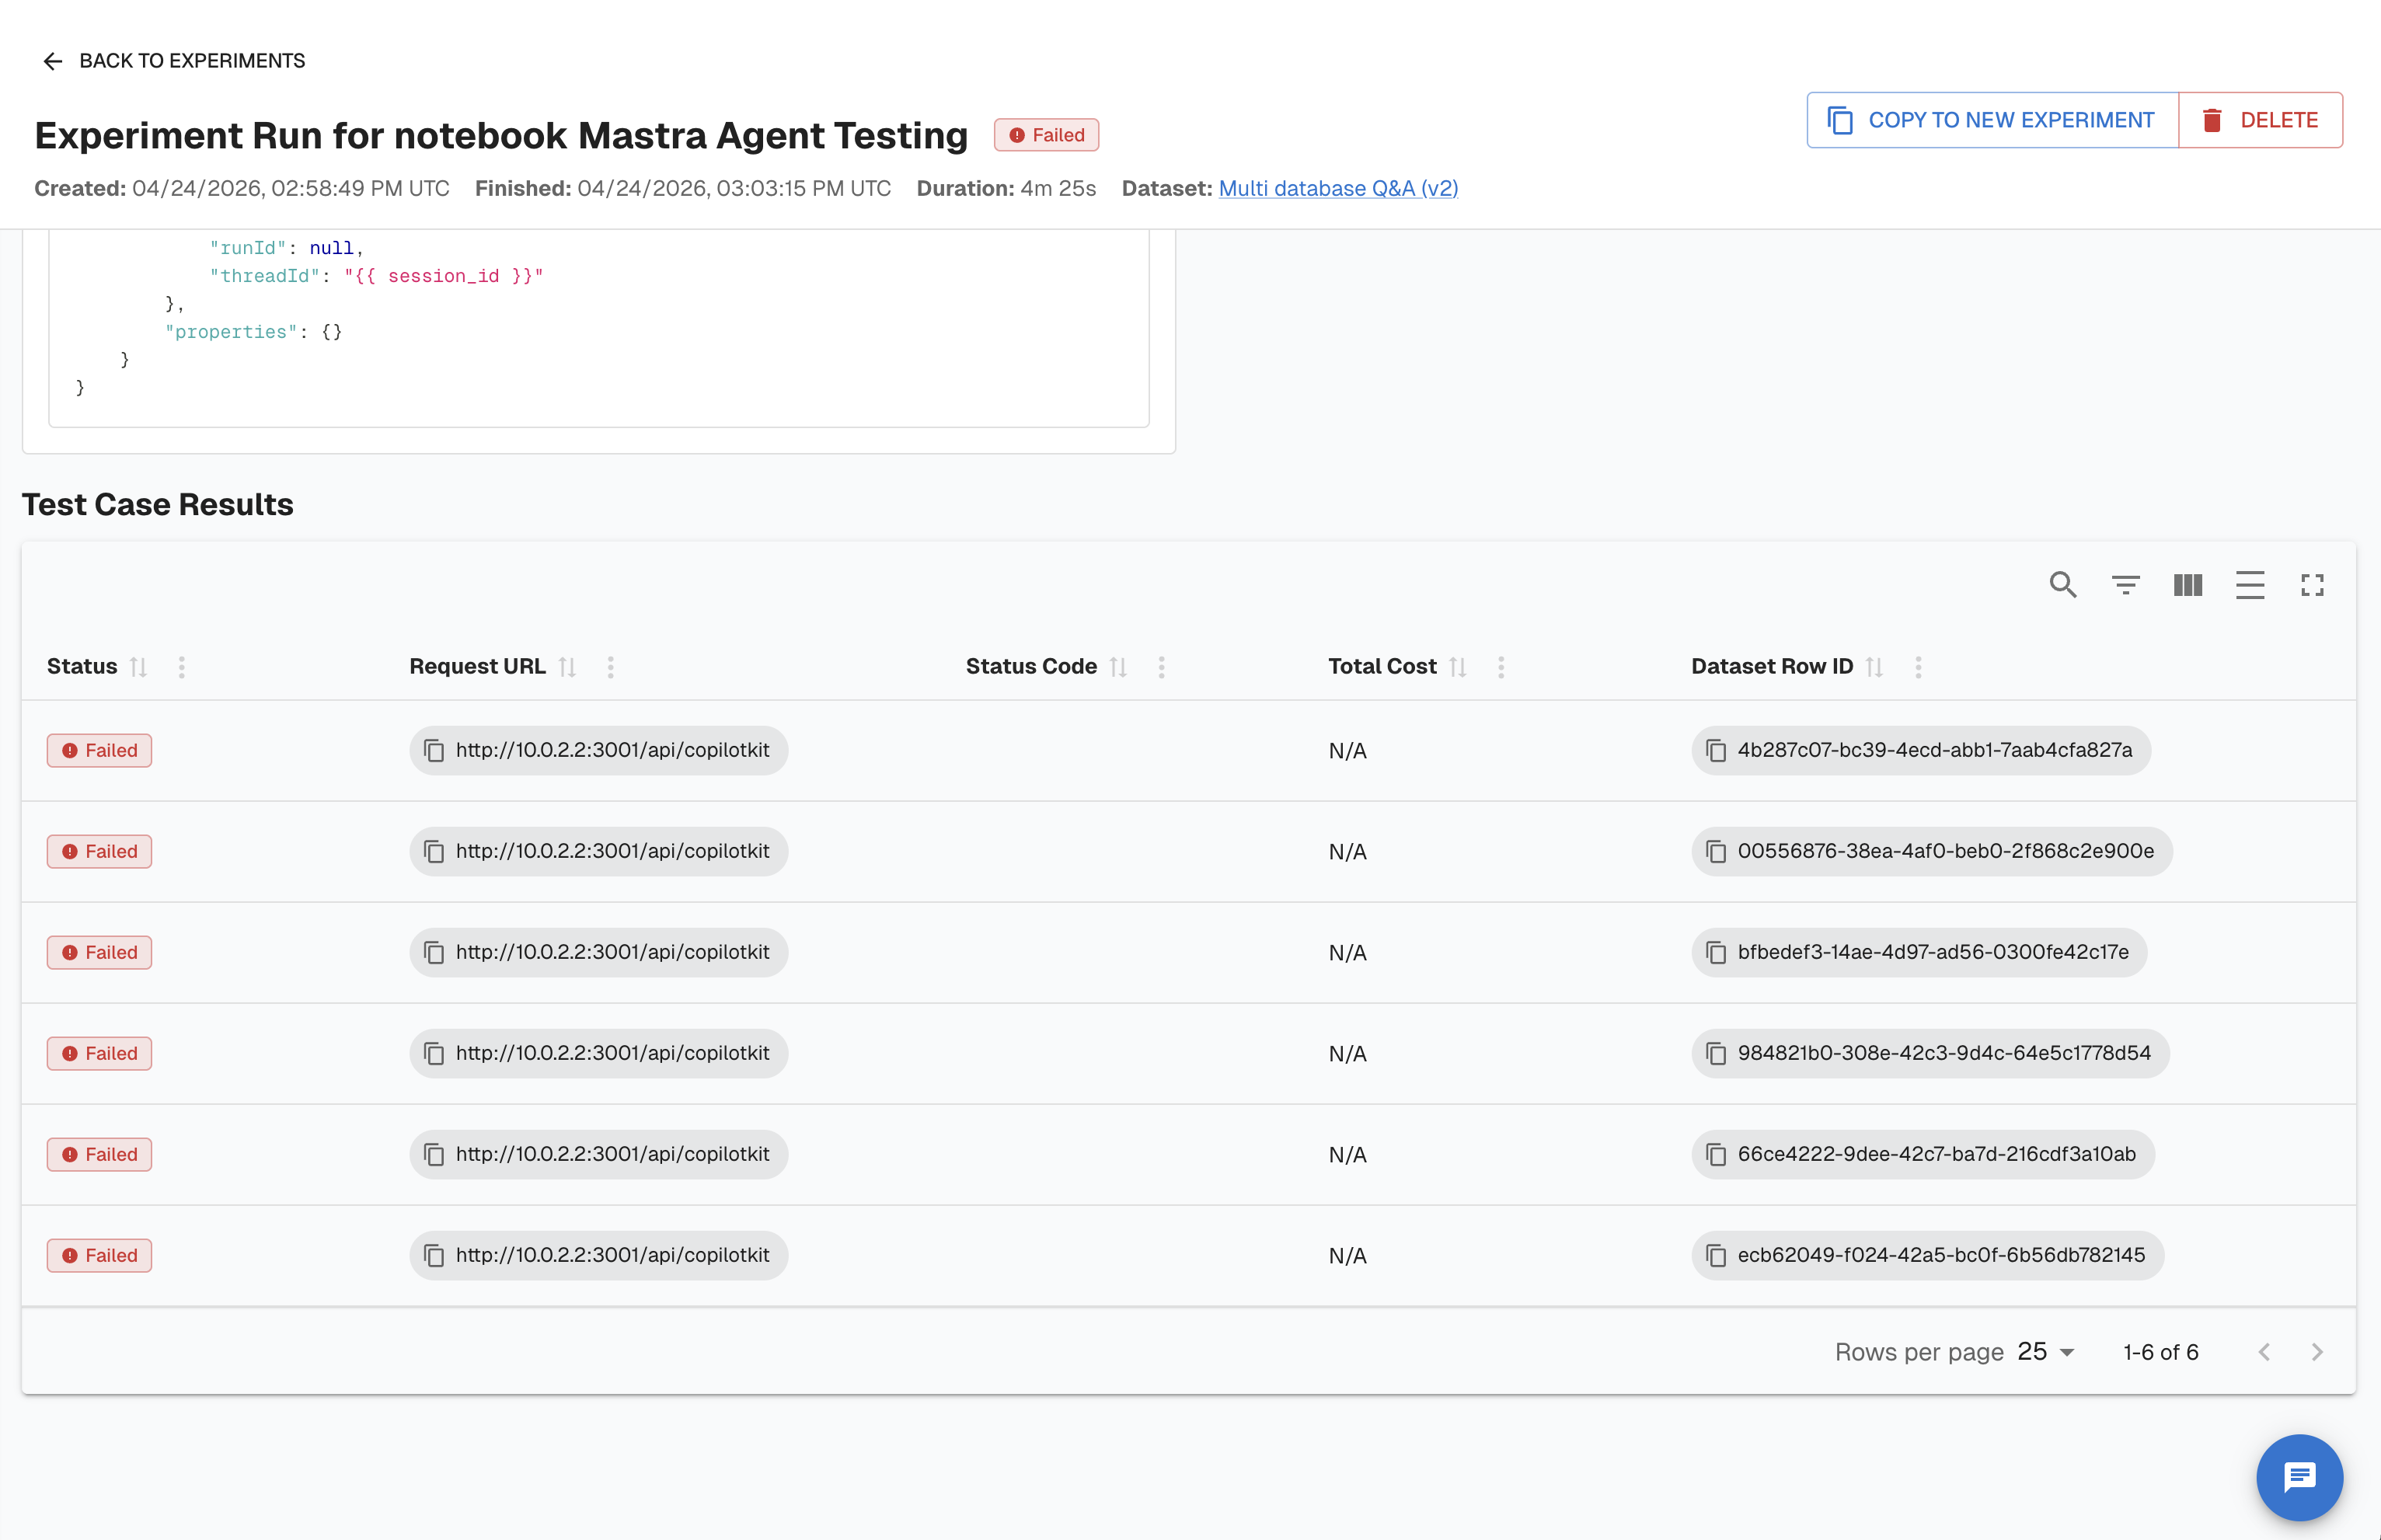
The results view shows:
- Experiment header — name, status, created/finished timestamps, duration, dataset link
- Endpoint panel — the endpoint name, URL, headers, and request body used for this run
- Test Case Progress — total rows, completed count, failed count
- Test Case Results table — one row per dataset row with: Status, Request URL, Status Code, Total Cost, Dataset Row ID
Key insight: Experiments give you a reproducible benchmark. Before you promote a new agent version to production, run it against your canonical dataset and confirm all test cases pass.
Agent Discovery
Continuous Evaluations tell you when your agent's known behaviors degrade. Agent Discovery tells you when new behaviors appear — tools your agent wasn't using before, sub-agents that have been added, new LLM models being called, or entirely new agents appearing in your workspace.
This is the closing loop of the development arc. When Agent Discovery surfaces something unexpected, you return to the Notebook to investigate, then run a new Experiment to validate the behavior before deciding whether to embrace or remediate it.

How Agent Discovery works
Arthur continuously analyzes incoming traces and compares the observed agent topology — tools, sub-agents, LLM models, and data sources — against the registered baseline. When a deviation is detected, it surfaces as an unregistered agent or component.

Query registered agents
Use the Agents API to inspect what Arthur currently knows about your agents:
import requests

WORKSPACE_ID = "your-workspace-uuid"

# List all registered agents in the workspace
response = requests.get(
    f"{ARTHUR_HOST}/api/v1/workspaces/{WORKSPACE_ID}/agents/registered",
    headers={"Authorization": f"Bearer {API_KEY}"}
)
agents = response.json()
for agent in agents:
    print(f"Agent: {agent['name']} (ID: {agent['id']})")
const response = await fetch(
`https://YOUR_ARTHUR_HOST/api/v1/workspaces/${WORKSPACE_ID}/agents/registered`,
{
headers: { "Authorization": "Bearer YOUR_API_KEY" }
}
);
const agents = await response.json();
agents.forEach(agent => console.log(`Agent: ${agent.name} (ID: ${agent.id})`));curl -X GET https://YOUR_ARTHUR_HOST/api/v1/workspaces/YOUR_WORKSPACE_ID/agents/registered \
-H "Authorization: Bearer YOUR_API_KEY"Query unregistered (newly discovered) agents
# List agents that have appeared in traces but are not yet registered
response = requests.get(
    f"{ARTHUR_HOST}/api/v1/workspaces/{WORKSPACE_ID}/agents/unregistered",
    headers={"Authorization": f"Bearer {API_KEY}"}
)
unregistered = response.json()
for agent in unregistered:
    print(f"[UNREGISTERED] {agent['name']} — first seen: {agent.get('first_seen')}")
const response = await fetch(
`https://YOUR_ARTHUR_HOST/api/v1/workspaces/${WORKSPACE_ID}/agents/unregistered`,
{
headers: { "Authorization": "Bearer YOUR_API_KEY" }
}
);
const unregistered = await response.json();
unregistered.forEach(agent => {
console.log(`[UNREGISTERED] ${agent.name} — first seen: ${agent.first_seen}`);
});curl -X GET https://YOUR_ARTHUR_HOST/api/v1/workspaces/YOUR_WORKSPACE_ID/agents/unregistered \
-H "Authorization: Bearer YOUR_API_KEY"Inspect registered tools, sub-agents, and models
Arthur tracks the full component inventory of your registered agents. Use these endpoints to audit what is in use:
# Tools
tools_resp = requests.get(
    f"{ARTHUR_HOST}/api/v1/workspaces/{WORKSPACE_ID}/agents/registered/tools",
    headers={"Authorization": f"Bearer {API_KEY}"}
)

# Sub-agents
subagents_resp = requests.get(
    f"{ARTHUR_HOST}/api/v1/workspaces/{WORKSPACE_ID}/agents/registered/subagents",
    headers={"Authorization": f"Bearer {API_KEY}"}
)

# LLM models
models_resp = requests.get(
    f"{ARTHUR_HOST}/api/v1/workspaces/{WORKSPACE_ID}/agents/registered/llm_models",
    headers={"Authorization": f"Bearer {API_KEY}"}
)

print("Tools:", [t["name"] for t in tools_resp.json()])
print("Sub-agents:", [s["name"] for s in subagents_resp.json()])
print("LLM models:", [m["name"] for m in models_resp.json()])
const [toolsRes, subagentsRes, modelsRes] = await Promise.all([
fetch(`https://YOUR_ARTHUR_HOST/api/v1/workspaces/${WORKSPACE_ID}/agents/registered/tools`,
{ headers: { "Authorization": "Bearer YOUR_API_KEY" } }),
fetch(`https://YOUR_ARTHUR_HOST/api/v1/workspaces/${WORKSPACE_ID}/agents/registered/subagents`,
{ headers: { "Authorization": "Bearer YOUR_API_KEY" } }),
fetch(`https://YOUR_ARTHUR_HOST/api/v1/workspaces/${WORKSPACE_ID}/agents/registered/llm_models`,
{ headers: { "Authorization": "Bearer YOUR_API_KEY" } }),
]);
const [tools, subagents, models] = await Promise.all([
toolsRes.json(), subagentsRes.json(), modelsRes.json()
]);
console.log("Tools:", tools.map(t => t.name));
console.log("Sub-agents:", subagents.map(s => s.name));
console.log("LLM models:", models.map(m => m.name));# Tools
curl -X GET https://YOUR_ARTHUR_HOST/api/v1/workspaces/YOUR_WORKSPACE_ID/agents/registered/tools \
-H "Authorization: Bearer YOUR_API_KEY"
# Sub-agents
curl -X GET https://YOUR_ARTHUR_HOST/api/v1/workspaces/YOUR_WORKSPACE_ID/agents/registered/subagents \
-H "Authorization: Bearer YOUR_API_KEY"
# LLM models
curl -X GET https://YOUR_ARTHUR_HOST/api/v1/workspaces/YOUR_WORKSPACE_ID/agents/registered/llm_models \
-H "Authorization: Bearer YOUR_API_KEY"Acknowledge or update a discovered agent
When you review an unregistered agent and decide it is expected, you can update its record to acknowledge it:
AGENT_ID = "discovered-agent-uuid"

response = requests.patch(
    f"{ARTHUR_HOST}/api/v1/agents/unregistered/{AGENT_ID}",
    headers={"Authorization": f"Bearer {API_KEY}"},
    json={"status": "acknowledged", "notes": "New sub-agent added in v3.2 release"}
)
print(response.json())
const response = await fetch(
`https://YOUR_ARTHUR_HOST/api/v1/agents/unregistered/${AGENT_ID}`,
{
method: "PATCH",
headers: {
"Authorization": "Bearer YOUR_API_KEY",
"Content-Type": "application/json"
},
body: JSON.stringify({
status: "acknowledged",
notes: "New sub-agent added in v3.2 release"
})
}
);
console.log(await response.json());curl -X PATCH https://YOUR_ARTHUR_HOST/api/v1/agents/unregistered/YOUR_AGENT_ID \
-H "Authorization: Bearer YOUR_API_KEY" \
-H "Content-Type: application/json" \
-d '{"status": "acknowledged", "notes": "New sub-agent added in v3.2 release"}'Workflow Summary
Here is the complete arc from production monitoring through investigation and validation:
flowchart TD
    subgraph Monitor
        A1[Create Transform + Evaluator]
        A2[Enable Continuous Eval]
        A3[Review Results and Annotations]
        A1 --> A2 --> A3
    end

    subgraph Iterate
        B1[Create Agentic Notebook]
        B2[Configure endpoint + dataset + evaluator]
        B3[Execute Notebook, review history]
        B1 --> B2 --> B3
    end

    subgraph Validate
        C1[Create Agentic Experiment]
        C2[Configure endpoint + dataset + evaluator]
        C3[Review test case results]
        C1 --> C2 --> C3
    end

    subgraph Discover
        D1[Agent Discovery scans traces]
        D2[Unregistered agents surfaced]
        D3[Acknowledge or investigate]
        D1 --> D2 --> D3
    end

    Monitor --> Iterate
    Iterate --> Validate
    Validate --> Discover
    Discover -->|New behavior detected| Iterate
| Stage | What you learn | What you produce |
|---|---|---|
| Continuous Evals | Whether production quality is holding | Pass/fail annotations on every production trace |
| Notebook | How your agent performs across a dataset, repeatably | A saved eval config you can re-run after every change |
| Experiments | How your agent performs on a one-off evaluation run | Per-test-case status, request details, and cost |
| Agent Discovery | Whether your agent's topology has changed | An inventory of known vs. new components |
The four stages are designed to be used together. Skipping Continuous Evaluations means you have no production baseline. Skipping Notebooks means you have no repeatable evaluation harness to catch regressions as you iterate. Skipping Agent Discovery means new capabilities or regressions can go unnoticed until a user reports them.
Next Steps
Now that you understand the full testing and monitoring arc, here is where to go next:
- Transforms — How to map trace span attributes to evaluator variables for Continuous Evaluations
- Continuous Evaluations — Built-in evaluators, how to write custom ones, and how to run them continuously on production traffic
- Datasets Guide — How to build, version, and manage evaluation datasets used by notebooks and experiments
- Agent Discovery — How Arthur detects new tools, sub-agents, and models across your workspace
- Prompt Management — How Arthur tracks prompt versions so you can correlate prompt changes with evaluation results
Updated 2 months ago