User & Organization Management
Overview
Arthur's access control system is built around three nested levels: Organization, Workspace, and Project. Understanding this hierarchy is the single most important thing you can do before inviting your first user. Get it right and permissions will feel intuitive; skip it and you'll spend time untangling access issues later.
This page covers the four most common admin tasks you'll perform in your first hour:
- Understanding the org → workspace → project hierarchy
- Inviting a user and assigning them a role
- Managing workspace membership
- Revoking or suspending access when someone leaves
All of these tasks are available in the Arthur platform UI under Identify & Access and via the Authorization API.
Organization vs Workspace vs Project
Before you click anything, internalize this three-level model. Every permission decision in Arthur maps to one of these levels.
graph TD
    A["Organization"]
    B1["Workspace A"]
    B2["Workspace B"]
    C1["Project 1"]
    C2["Project 2"]
    C3["Project 3"]

    A --> B1
    A --> B2
    B1 --> C1
    B1 --> C2
    B2 --> C3
| Level | What it represents | Who manages it | Typical roles |
|---|---|---|---|
| Organization | Your entire Arthur deployment — all workspaces, all users | Org Admin | Organization Admin, Organization Member |
| Workspace | A team or business unit boundary — contains projects and models | Workspace Admin | Workspace Admin, Workspace Reader |
| Project | A focused grouping of applications and evaluations within a workspace | Project Admin | Project Admin, Project Reader |
Key rules to remember:
- A user must have an organization-level role before they can be added to any workspace.
- Workspace membership does not automatically grant project access — you must assign project roles separately.
- Roles are additive: a user with
Workspace Readerat the workspace level can be grantedProject Adminon a specific project without elevating their workspace-wide permissions. - Org Admins can see and manage everything. Workspace Admins can only manage their own workspace.
Tip for new admins: Start by deciding which workspaces map to your team structure. A common pattern is one workspace per team (e.g., "ML Platform", "Data Science", "Risk"). Projects then map to individual models or initiatives within that team.
Invite a User
Inviting a user is a two-step process: first create their account at the organization level, then add them to the appropriate workspace(s).
Step 1 — Open the IAM panel
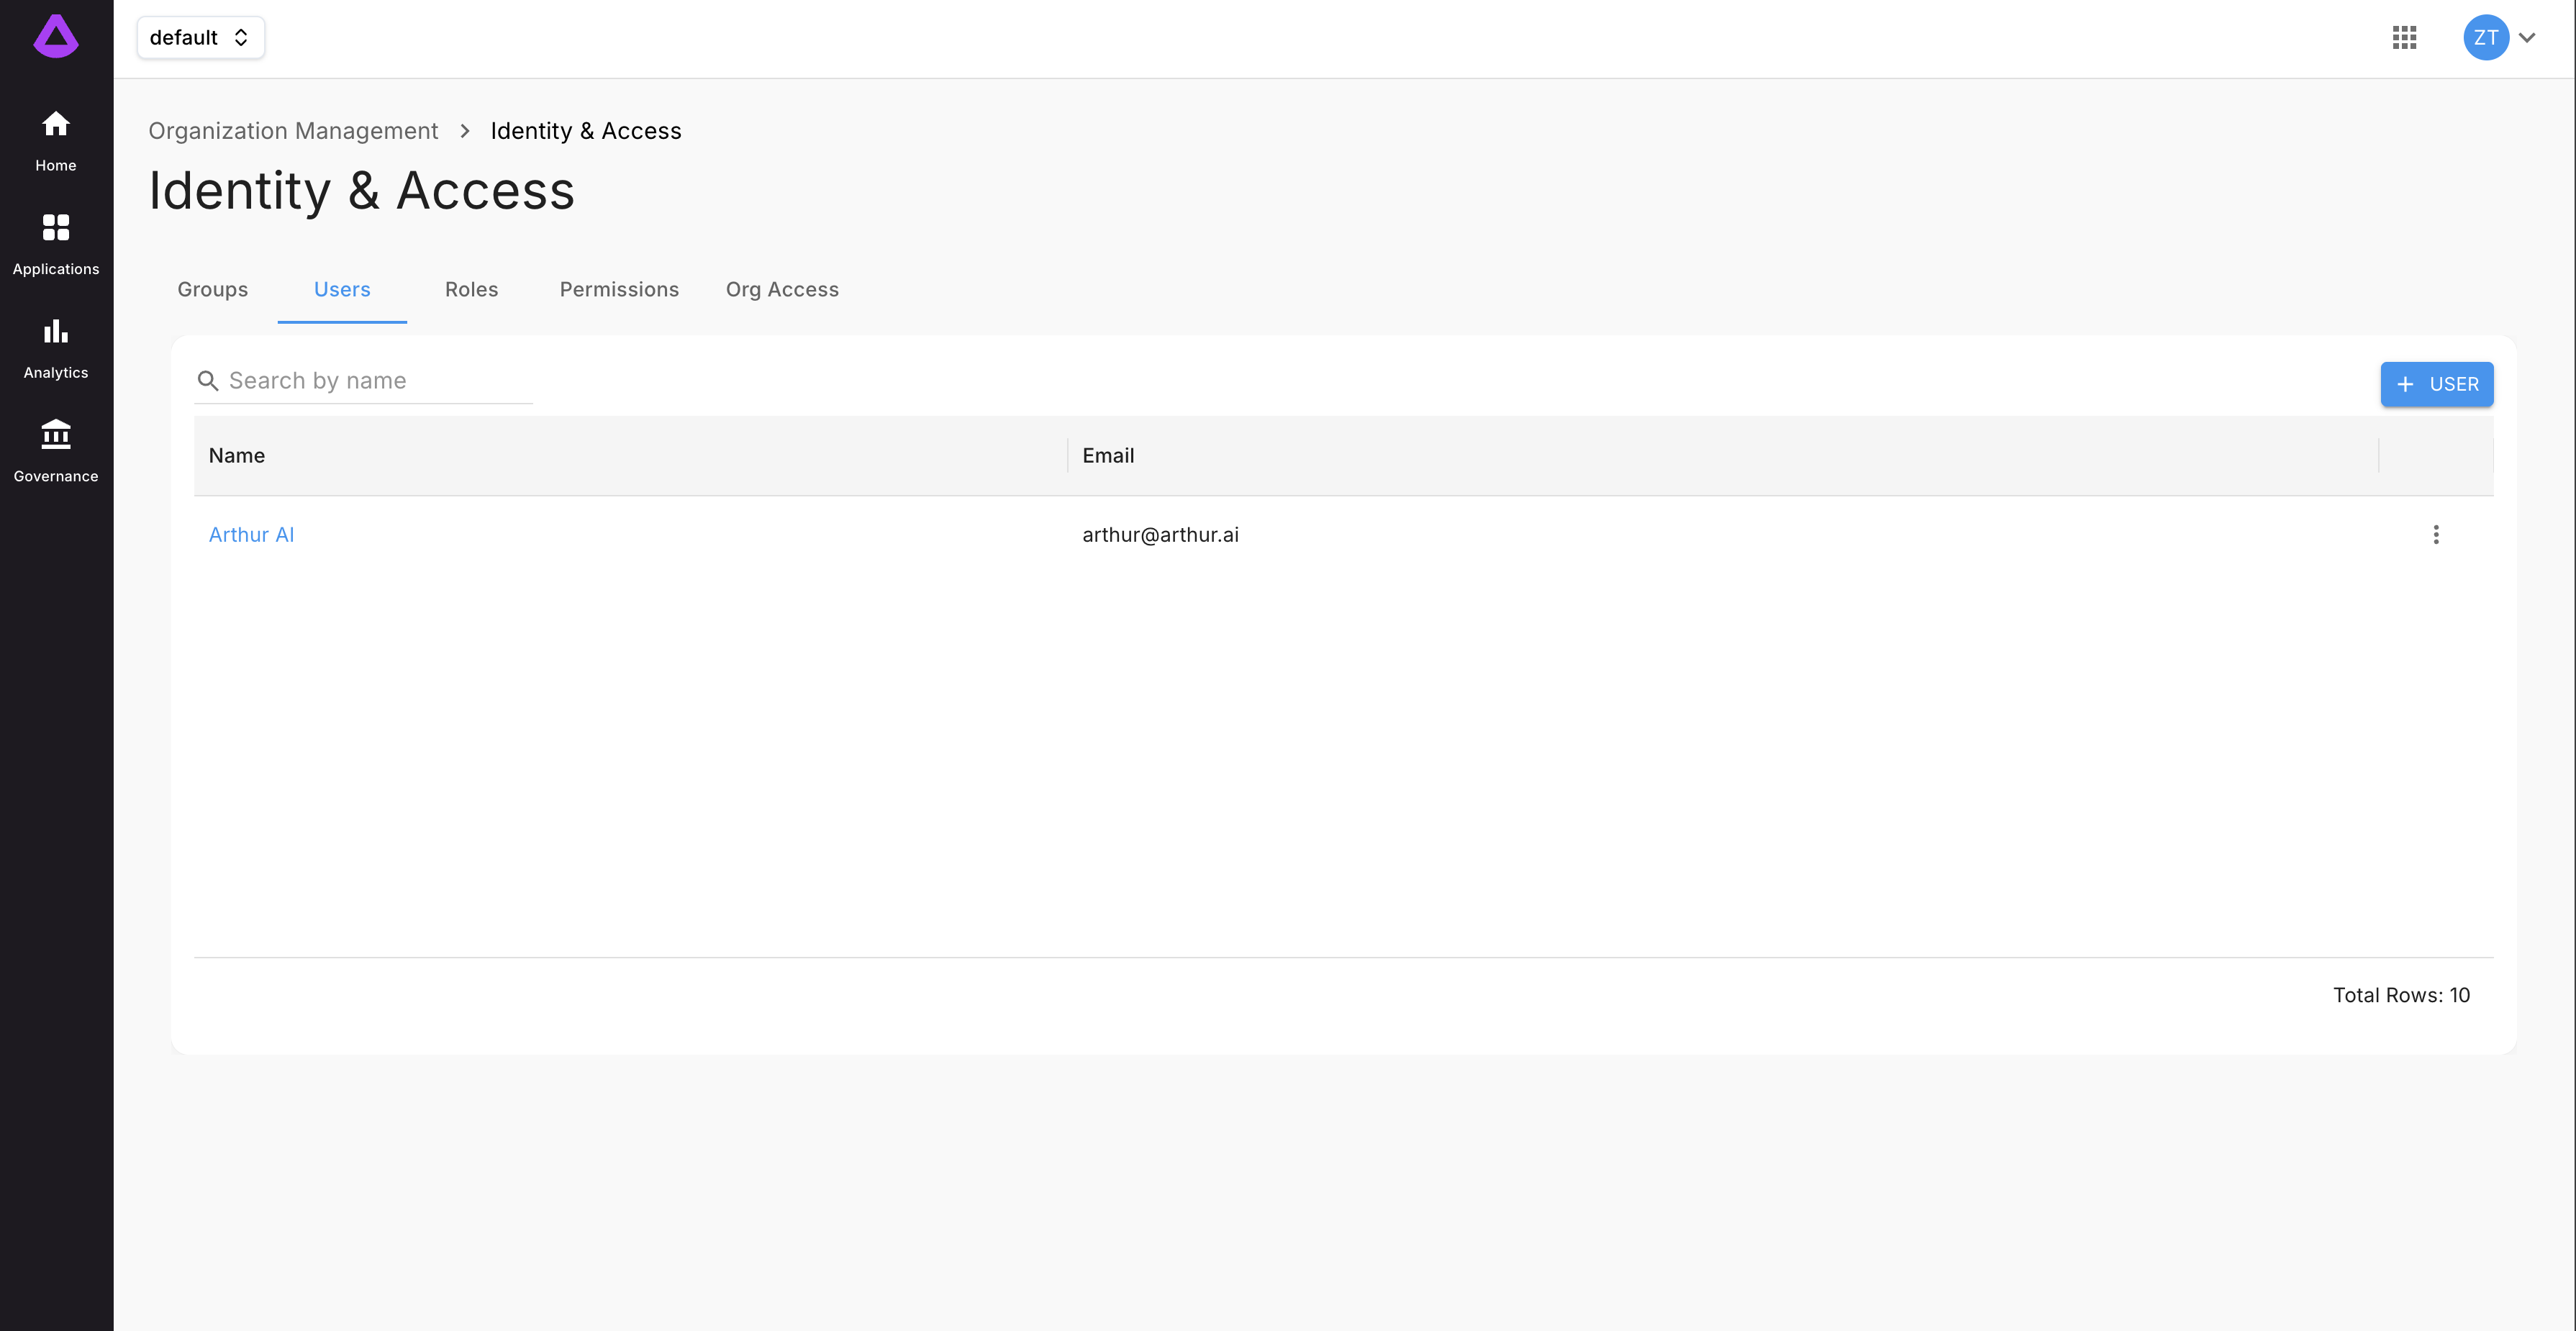
- In the left navigation, click Identify & Access.
- Select the Users tab.
Step 2 — Create the user
- Click Create User (top-right of the Users table).
- Fill in the Create a New User form:
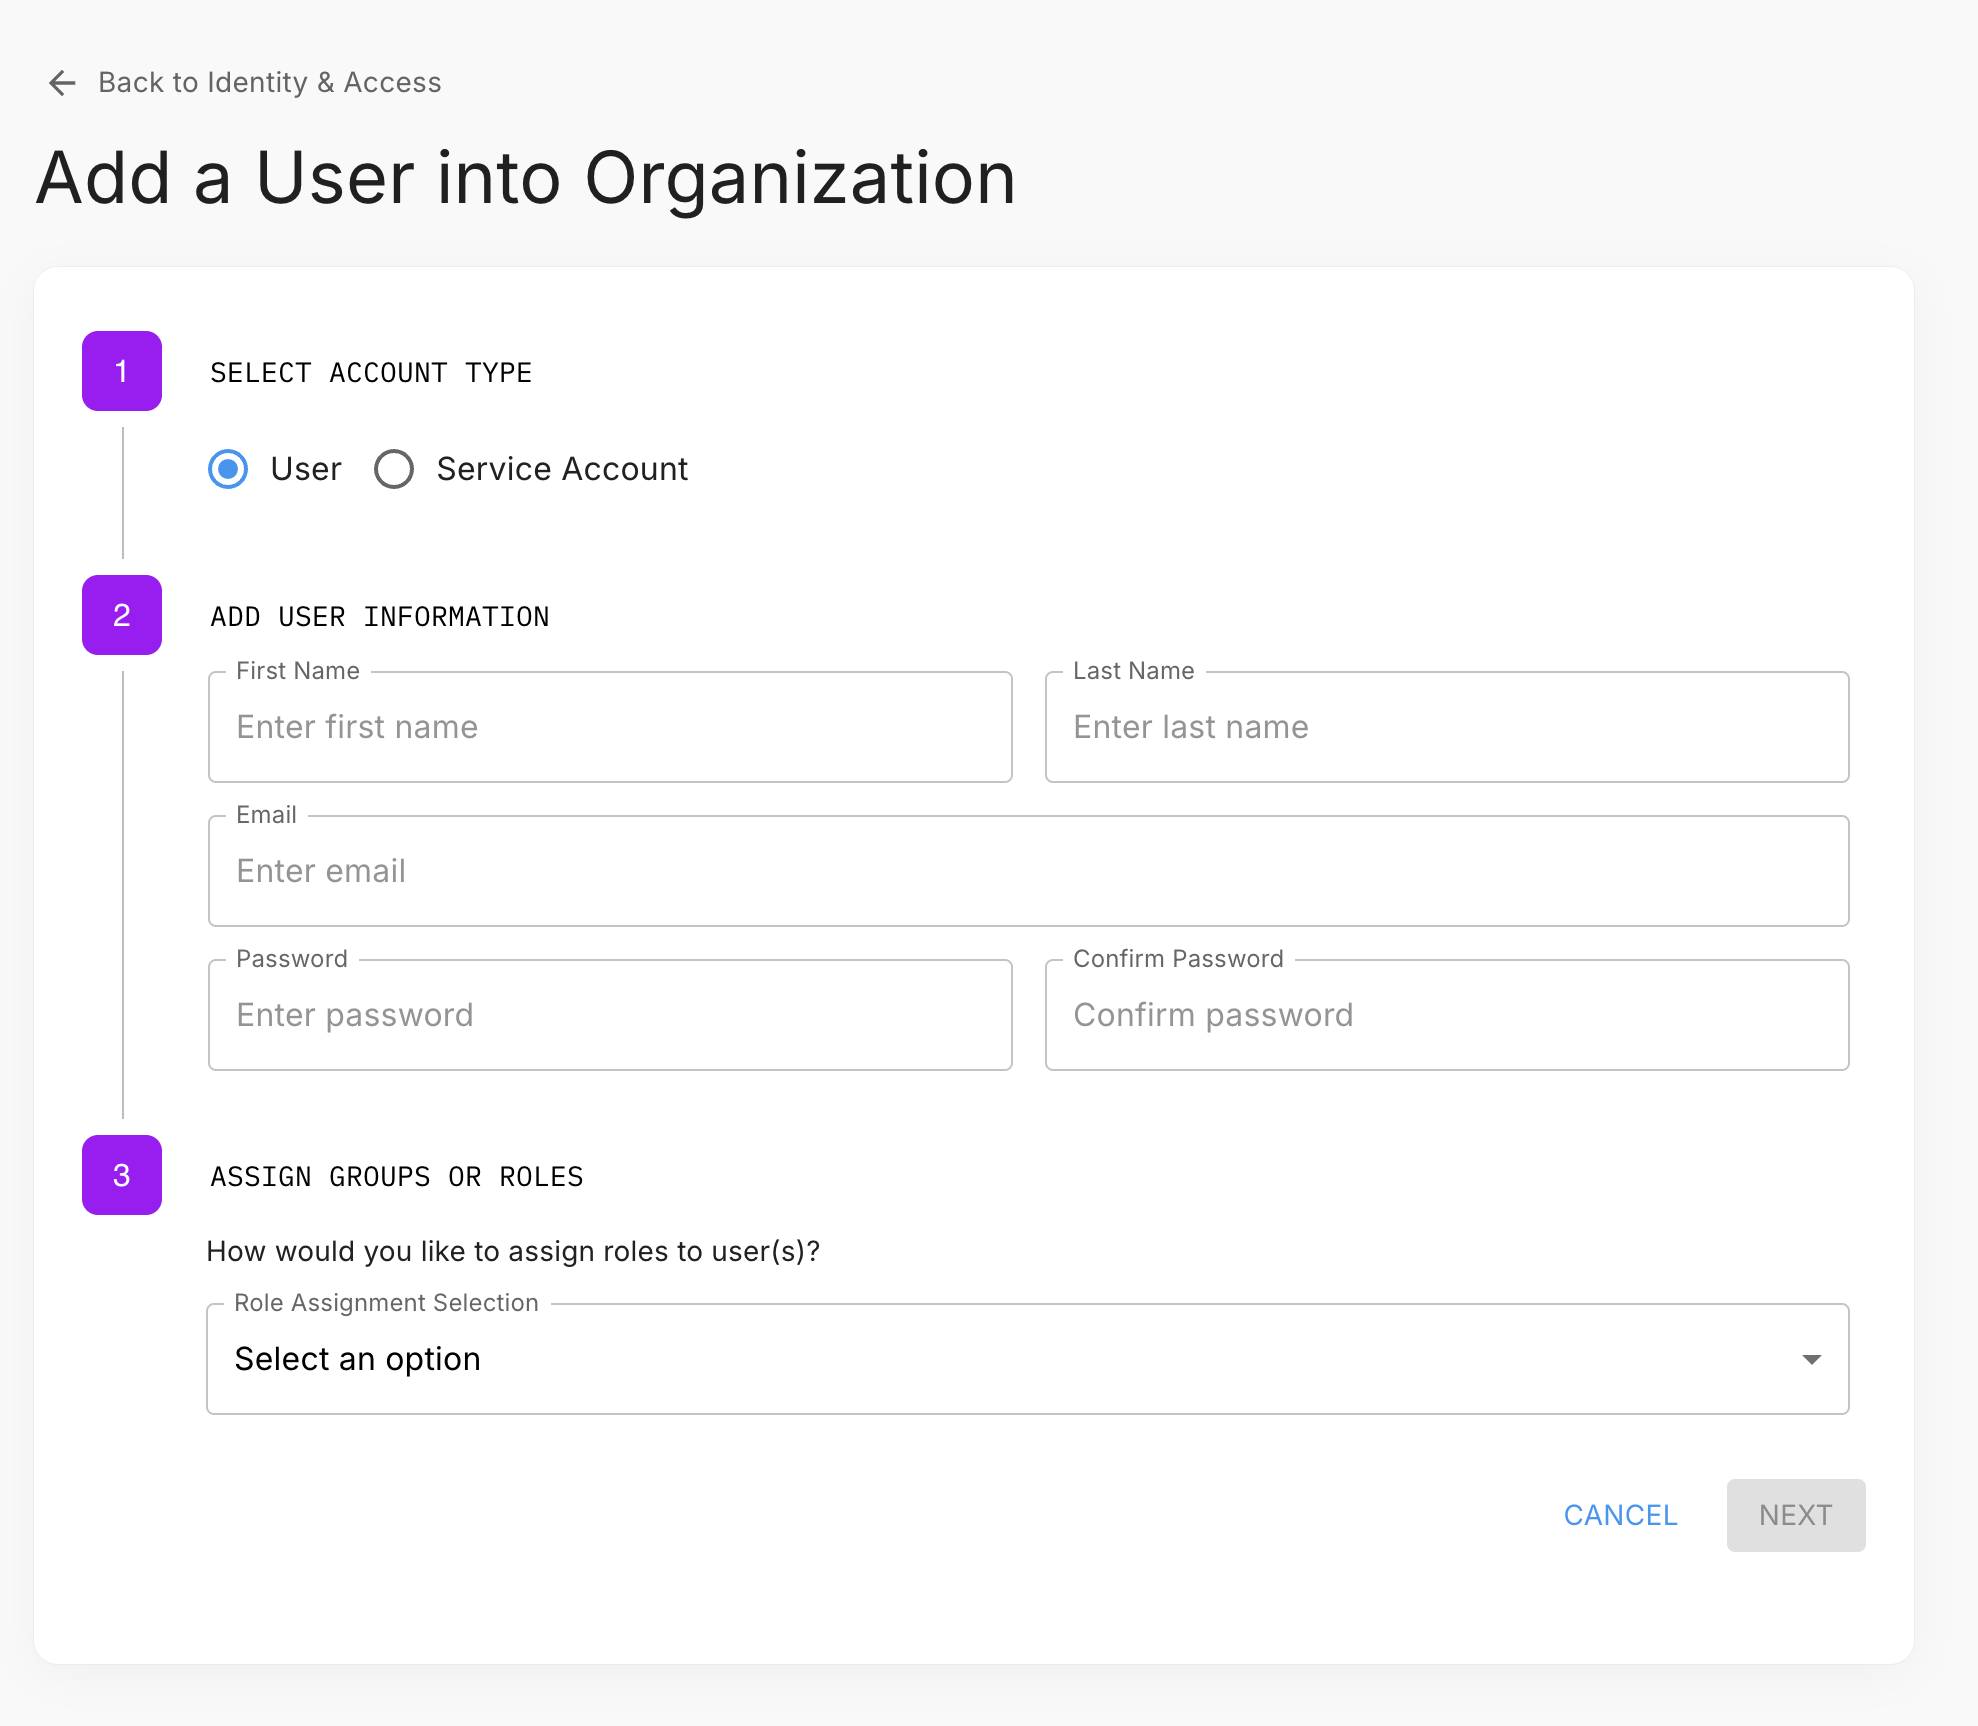
| Field | Description |
|---|---|
| First Name / Last Name | The user's display name across the platform |
| Used for login and notifications | |
| Organization Role | The user's org-level role (Organization Admin or Organization Member) |
| Password | Temporary password — the user should change this on first login |
- Click Create User. The user now exists at the organization level and can log in, but they cannot see any workspace content until you add them to a workspace.
Remove or Suspend Access
When a team member leaves or changes roles, delete their user account. This is a single operation that automatically removes all of their role bindings, group memberships, and credentials — no need to clean these up individually beforehand.
- Click the Settings icon → Identity & Access → Users tab.
- Click on the user to open their detail page.
- Click Delete User (top-right). You'll be prompted to confirm by typing the user's name.
Note: Deleting a user is permanent. If the user administered projects or applications, reassign ownership before deleting their account.
Service Accounts
Automated pipelines and integrations should use service accounts rather than personal user credentials. A service account is a user with user_type: SERVICE_ACCOUNT — it follows the same role binding model as regular users and is managed the same way.
Create a service account
- Click the Settings icon → Identity & Access → Users tab.
- Click User (top-right) to start the creation flow.
- Select Service Account as the account type.
- Enter the service name and complete the flow.
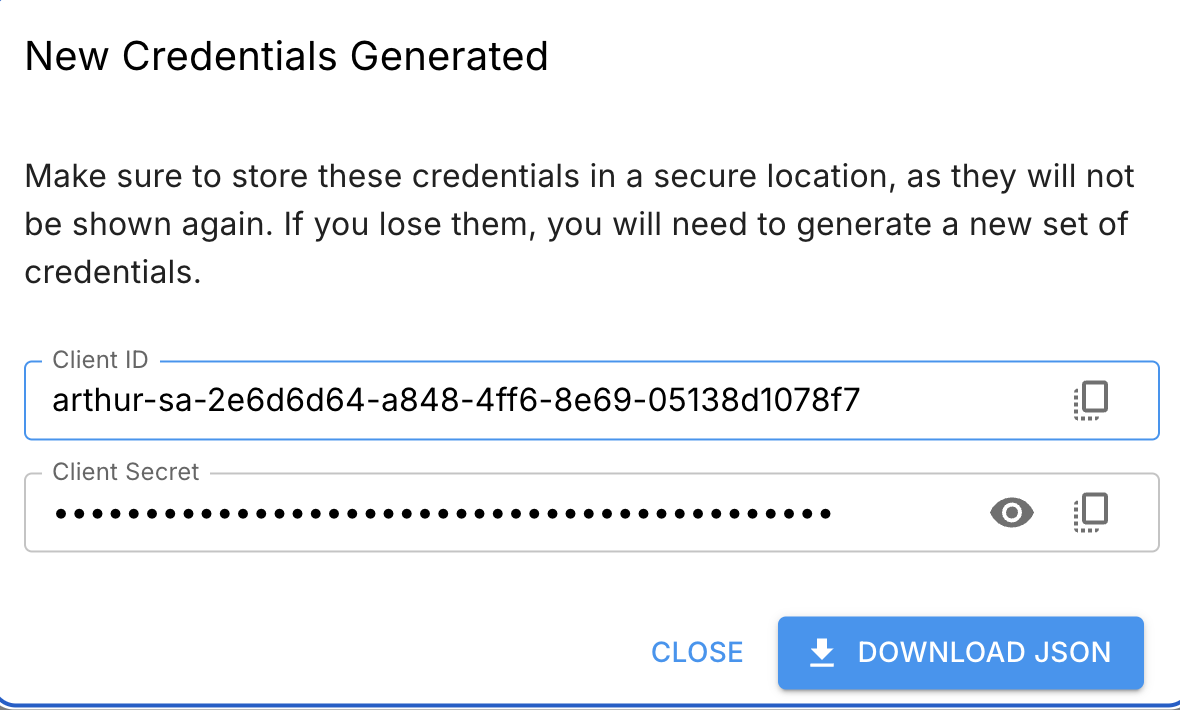
- Copy the generated Client ID and Client Secret immediately — they are only shown once.
- Assign the service account the minimum role it needs at the appropriate scope (org, workspace, or project).
Best practices for API key management
| Practice | Why it matters |
|---|---|
| Create a dedicated service account user per integration | Limits blast radius if a key is compromised |
| Assign the minimum required role to the service account | Principle of least privilege |
| Rotate keys on a regular schedule (e.g., every 90 days) | Reduces exposure window |
| Never commit keys to source control | Use environment variables or a secrets manager |
| Delete keys immediately when a service is decommissioned | Prevents orphaned credentials |
Rotate credentials
Open the service account's detail page → Profile tab → click Reset Credentials. The new credentials replace the old ones immediately.
Decommission a service account
Delete the service account user the same way as a regular user (DELETE /api/v1/users/USER_ID). This automatically revokes its credentials — no separate key revocation step is needed.
Next Steps
You've established the mental model and completed the core admin tasks. Here's where to go next:
| Goal | Where to go |
|---|---|
| Set up governance policies for your workspace | Governance & Policies |
| Connect an AI engine to start evaluating models | Connected Engines |
| Create your first project and add applications | Projects & Applications |
| Configure alert rules to monitor model behavior | Alert Rules |
| Explore workspace analytics to understand usage | Workspace Analytics Dashboard |
Need help? If you're deploying Arthur in an enterprise environment with SSO or LDAP, contact your Arthur account team for identity provider integration guidance — the steps above cover local user management only.
Updated 2 months ago